How to Use the Comflowy Batch Feature?
If you're familiar with ComfyUI, you might know about a powerful feature it offers called Batch. This feature helps you generate multiple images in succession or enlarge multiple images in batches.
In Comflowy, we offer a similar feature, but our Batch functionality can also handle some scenarios that are difficult to achieve with ComfyUI. I'll introduce how to use the Batch feature in Comflowy.
Scenario 1: Generating Images in Succession
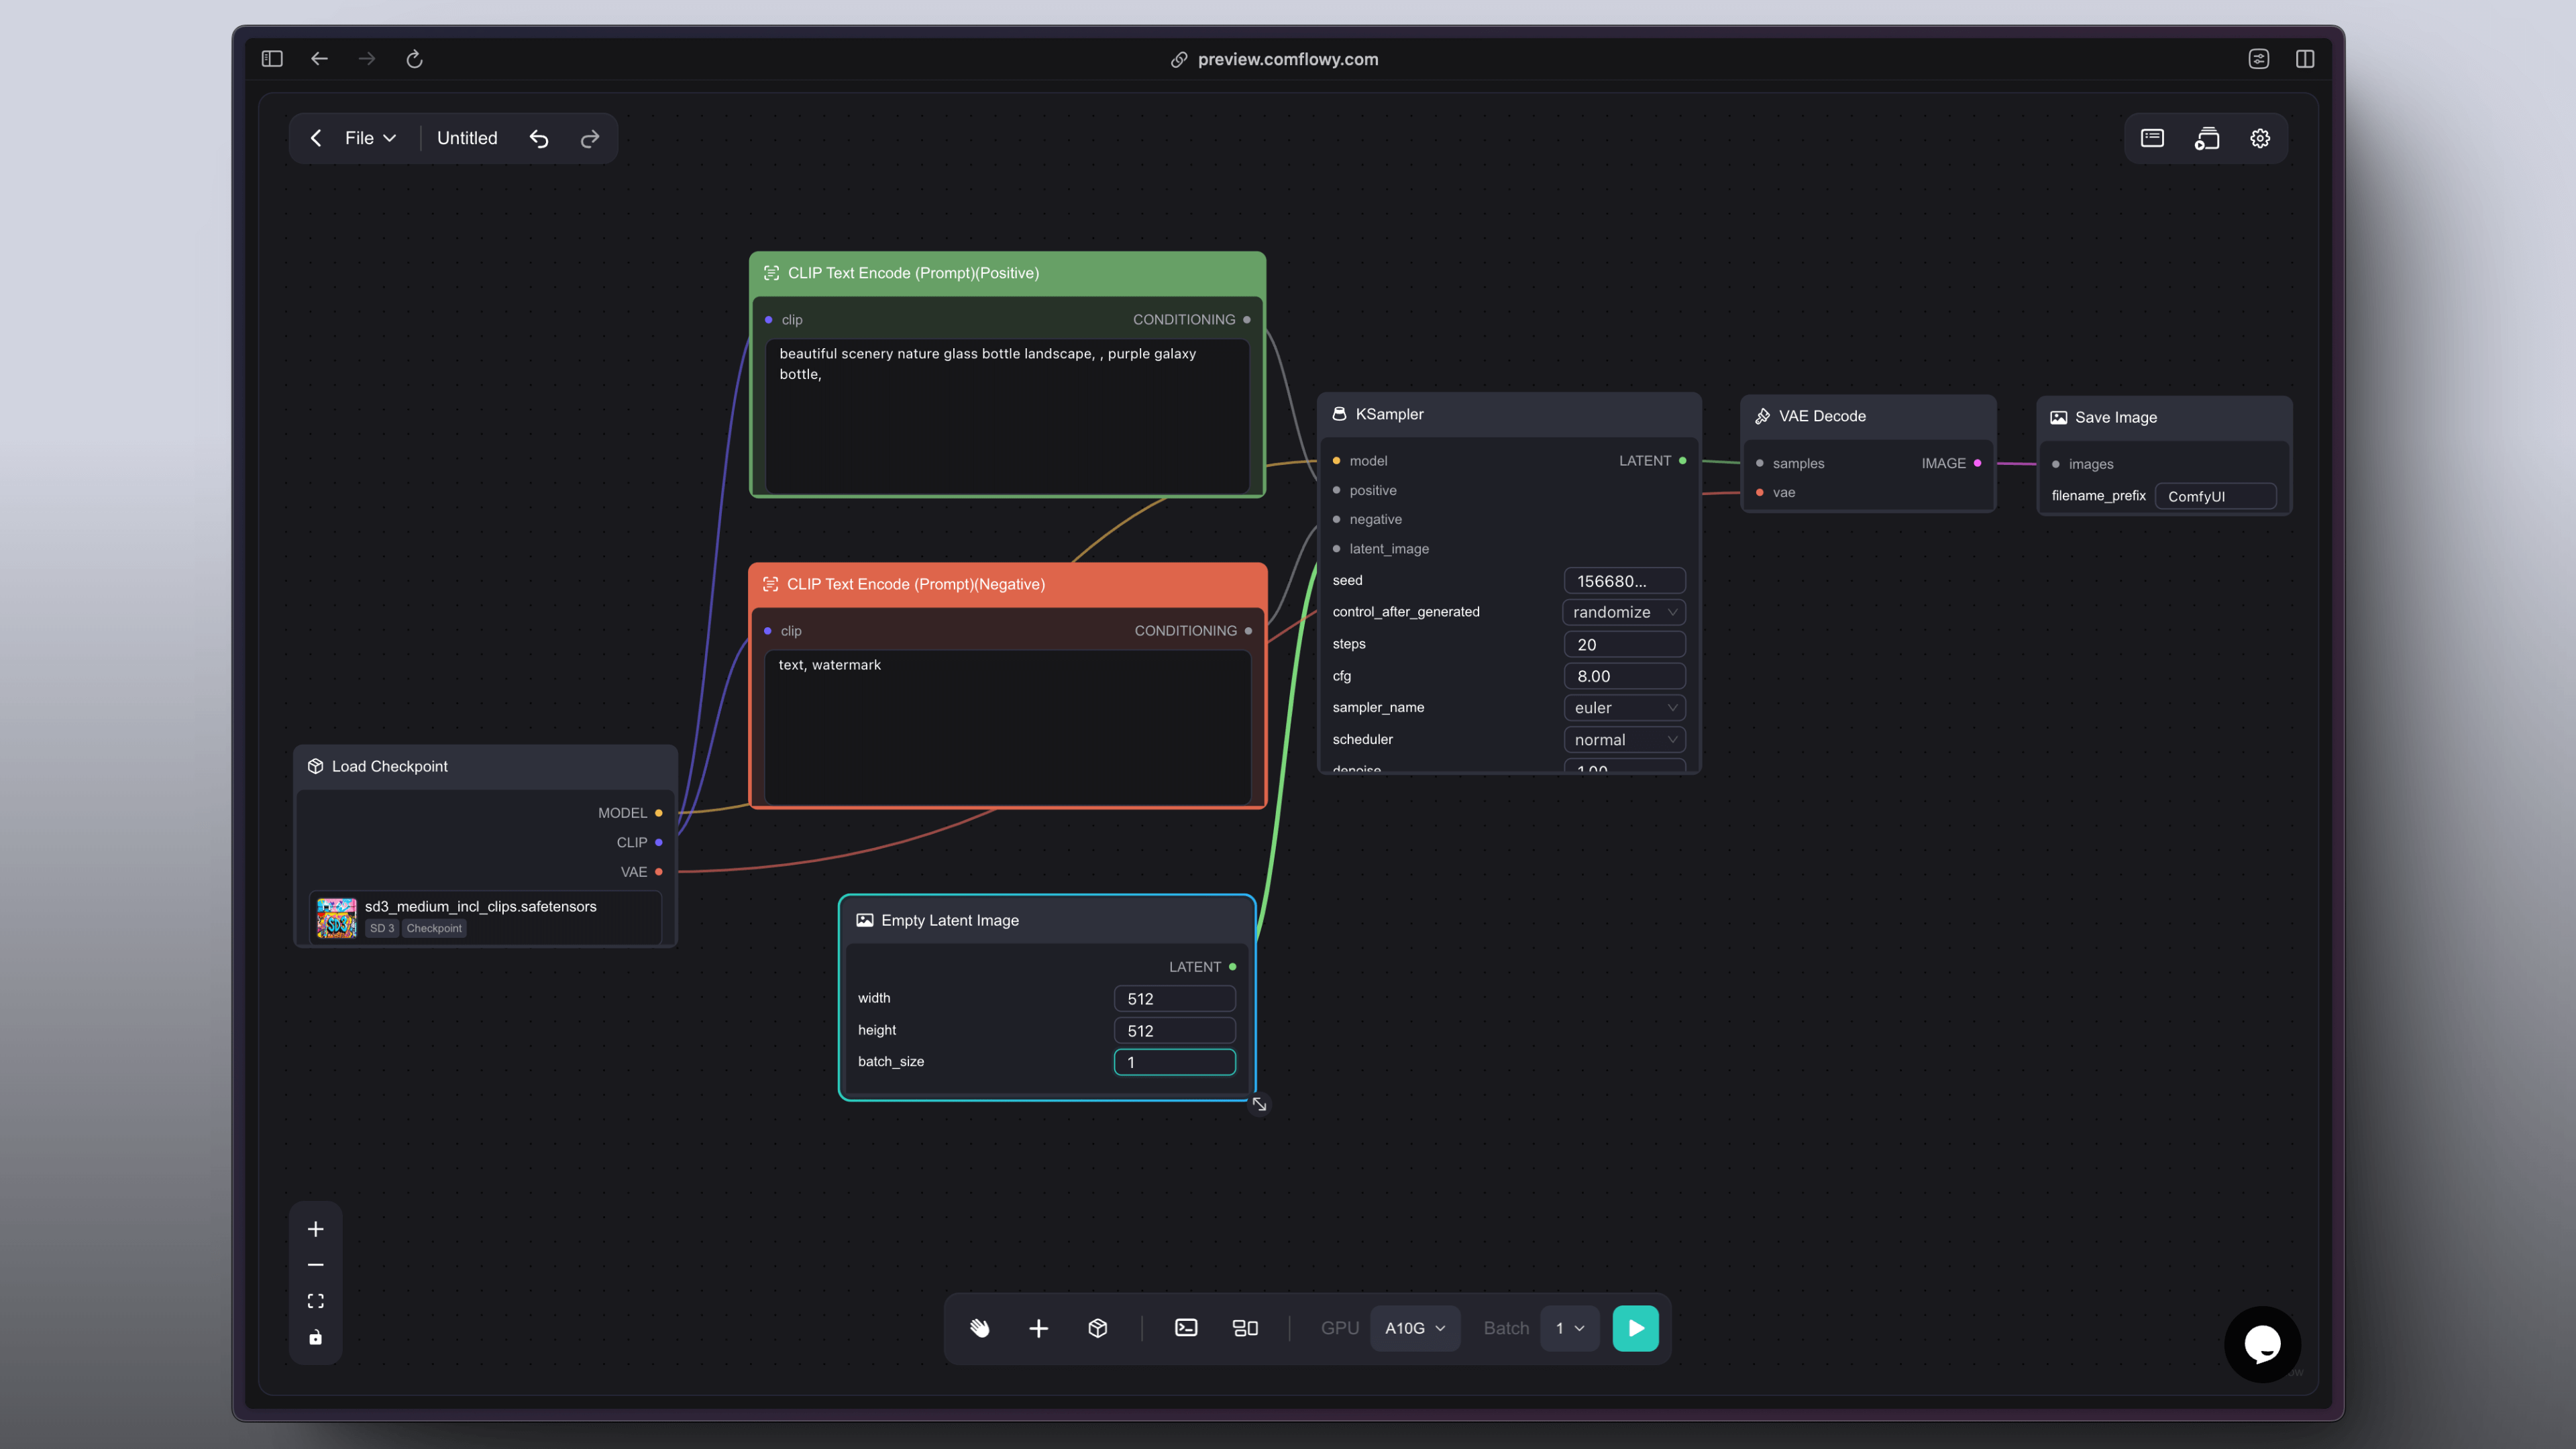
Whether it's in ComfyUI or Comflowy, to generate images in succession, you just need to set the Batch Size in the Empty Latent Image node to continue generating images (as shown below). If you set the Batch Size to 10 and click Run, it will generate 10 images in succession.
However, not all workflows will utilize the Empty Latent Image node, such as those that incorporate ControlNet or high-definition restoration. So, how do we achieve image generation in succession in these scenarios?
This is where the Batch feature comes into play. You'll see a Batch option on the bottom toolbar:
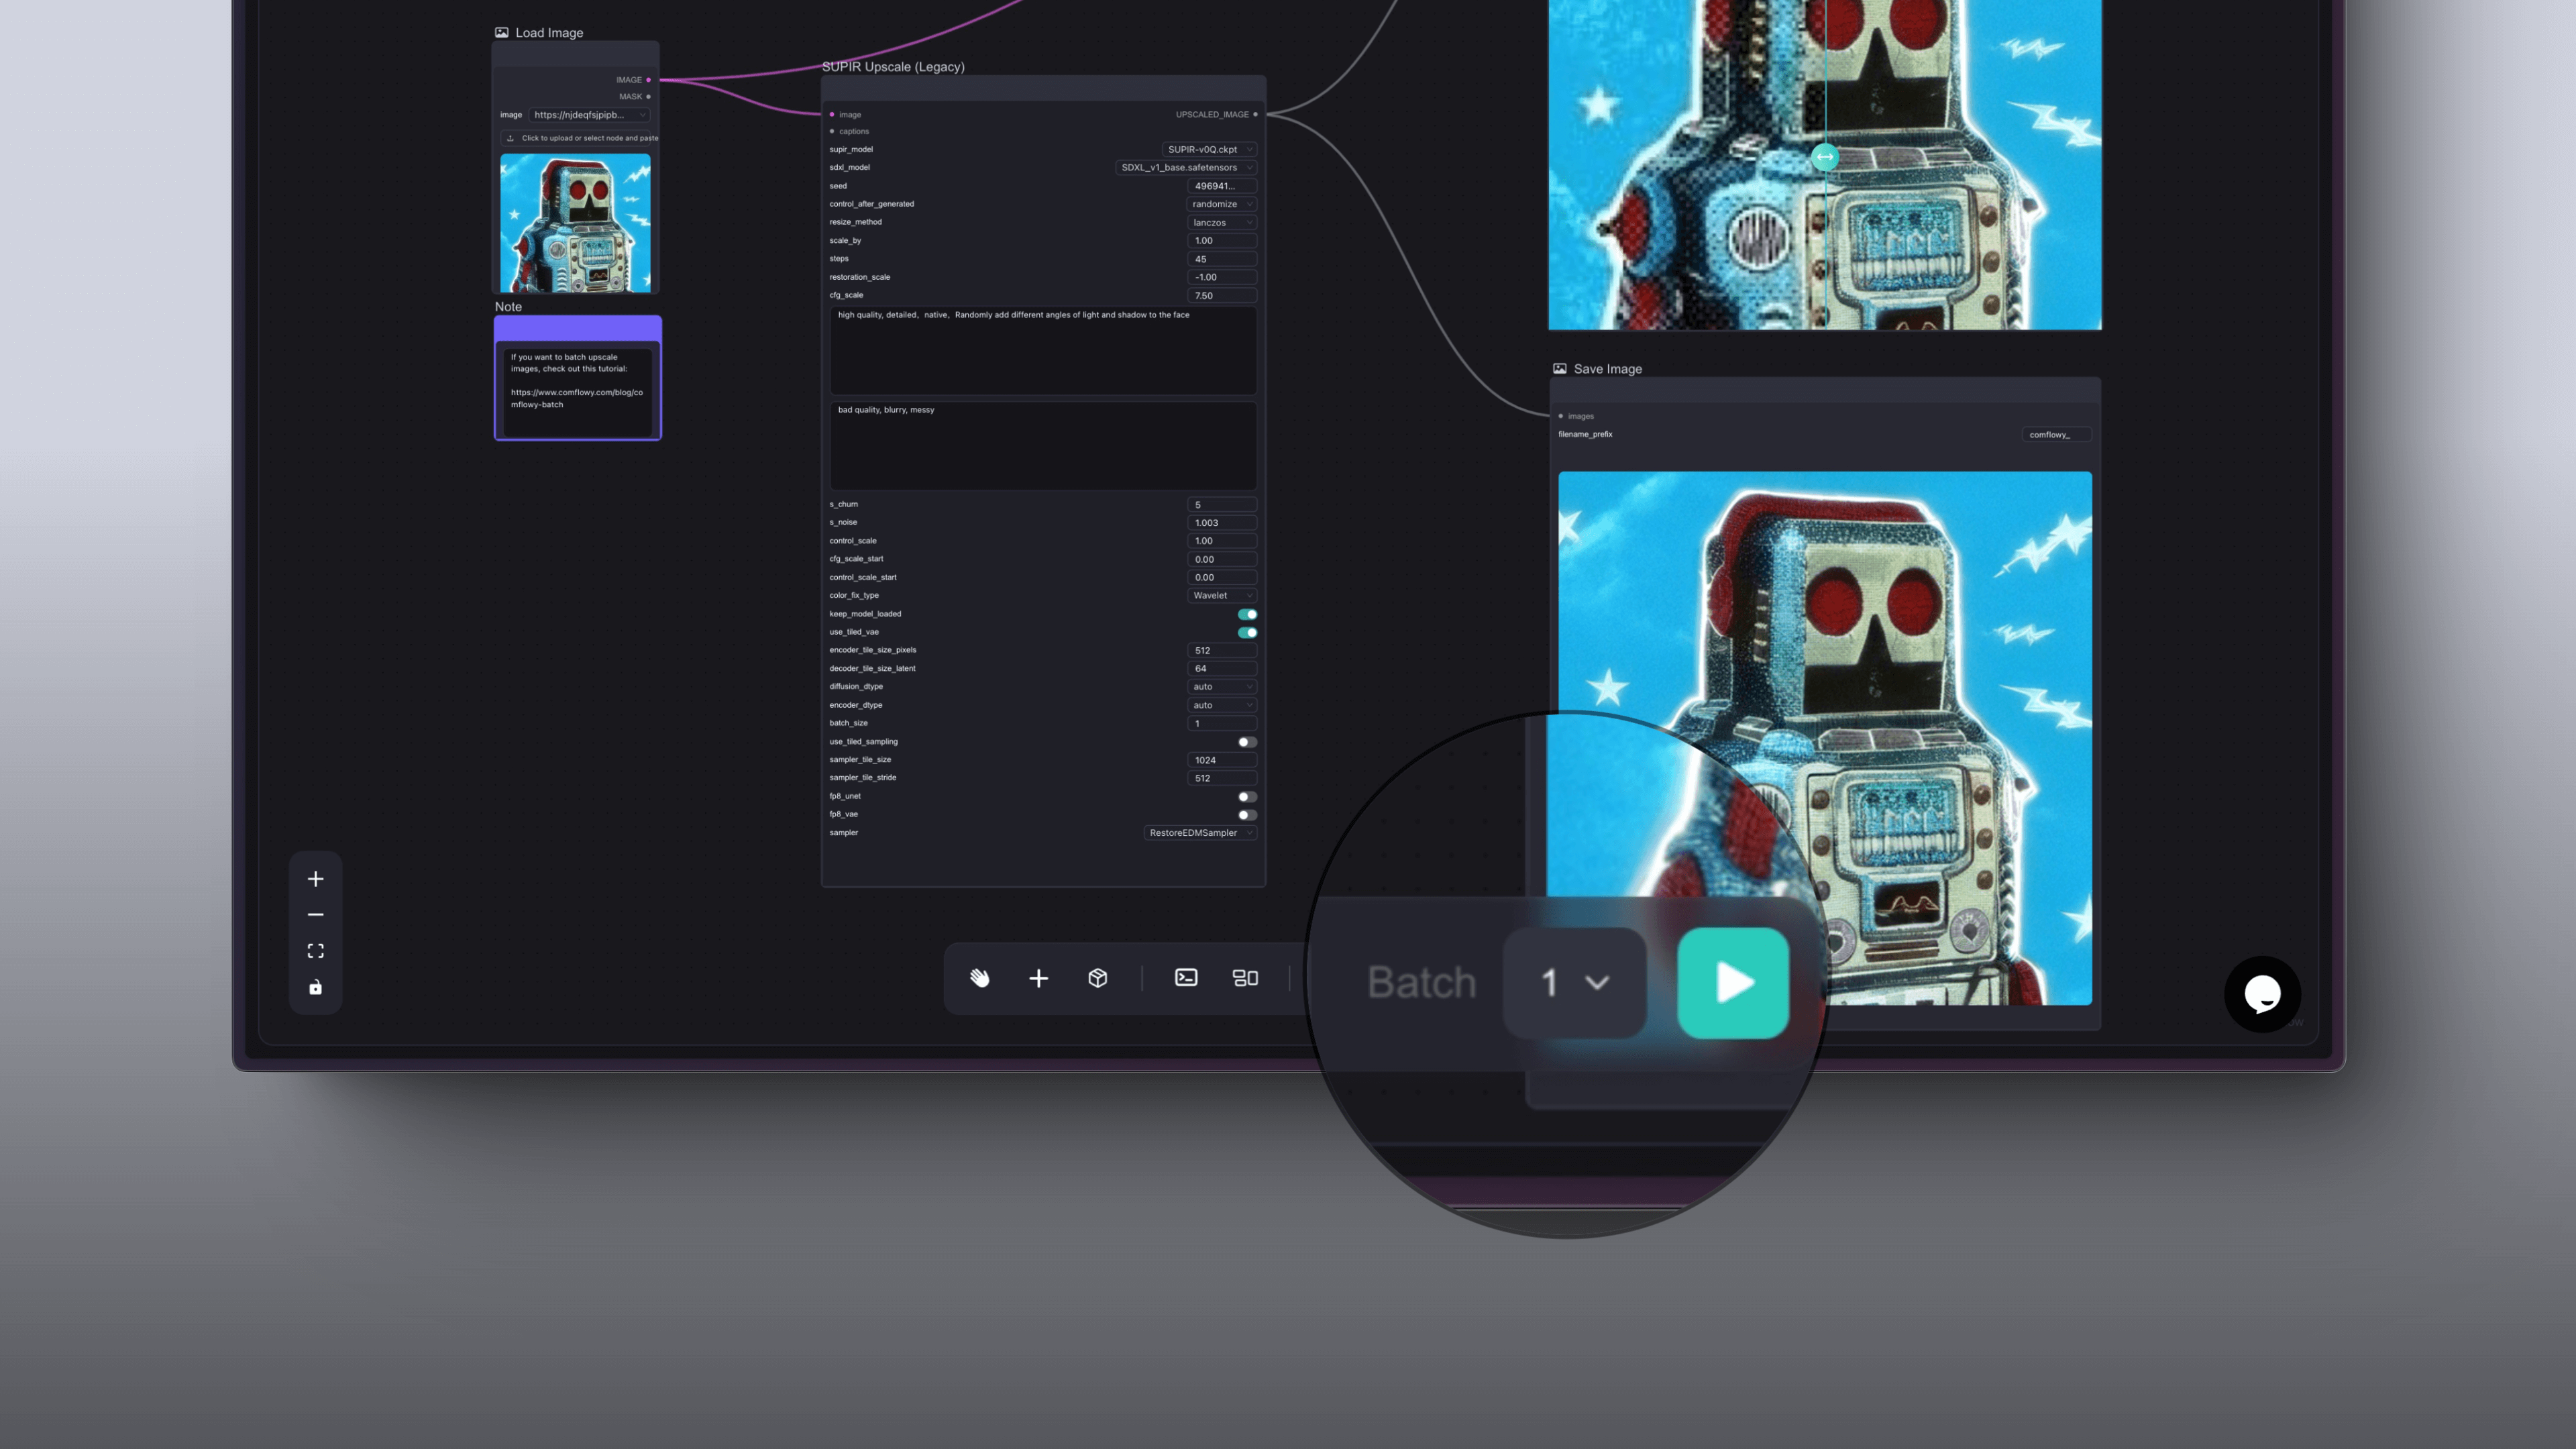
By clicking on the dropdown button of Batch and selecting the number of runs, then clicking Run, you can achieve sequential image generation.
Note: At the moment, we only support generating up to 10 times consecutively. If you have more extensive requirements, feel free to join our Discord (opens in a new tab) and provide us with feedback.
Scenario 2: Enlarging Multiple Images in Batches
Aside from generating images in succession, the Batch feature grants more formidable capabilities. You might encounter situations where, after setting up a workflow, you need to process several images in batches.
However, the efficiency is significantly low if you have to upload an image, click Run, upload another, and run it again. It's also easy to forget whether you've already uploaded a certain image before, leading to duplicate work.
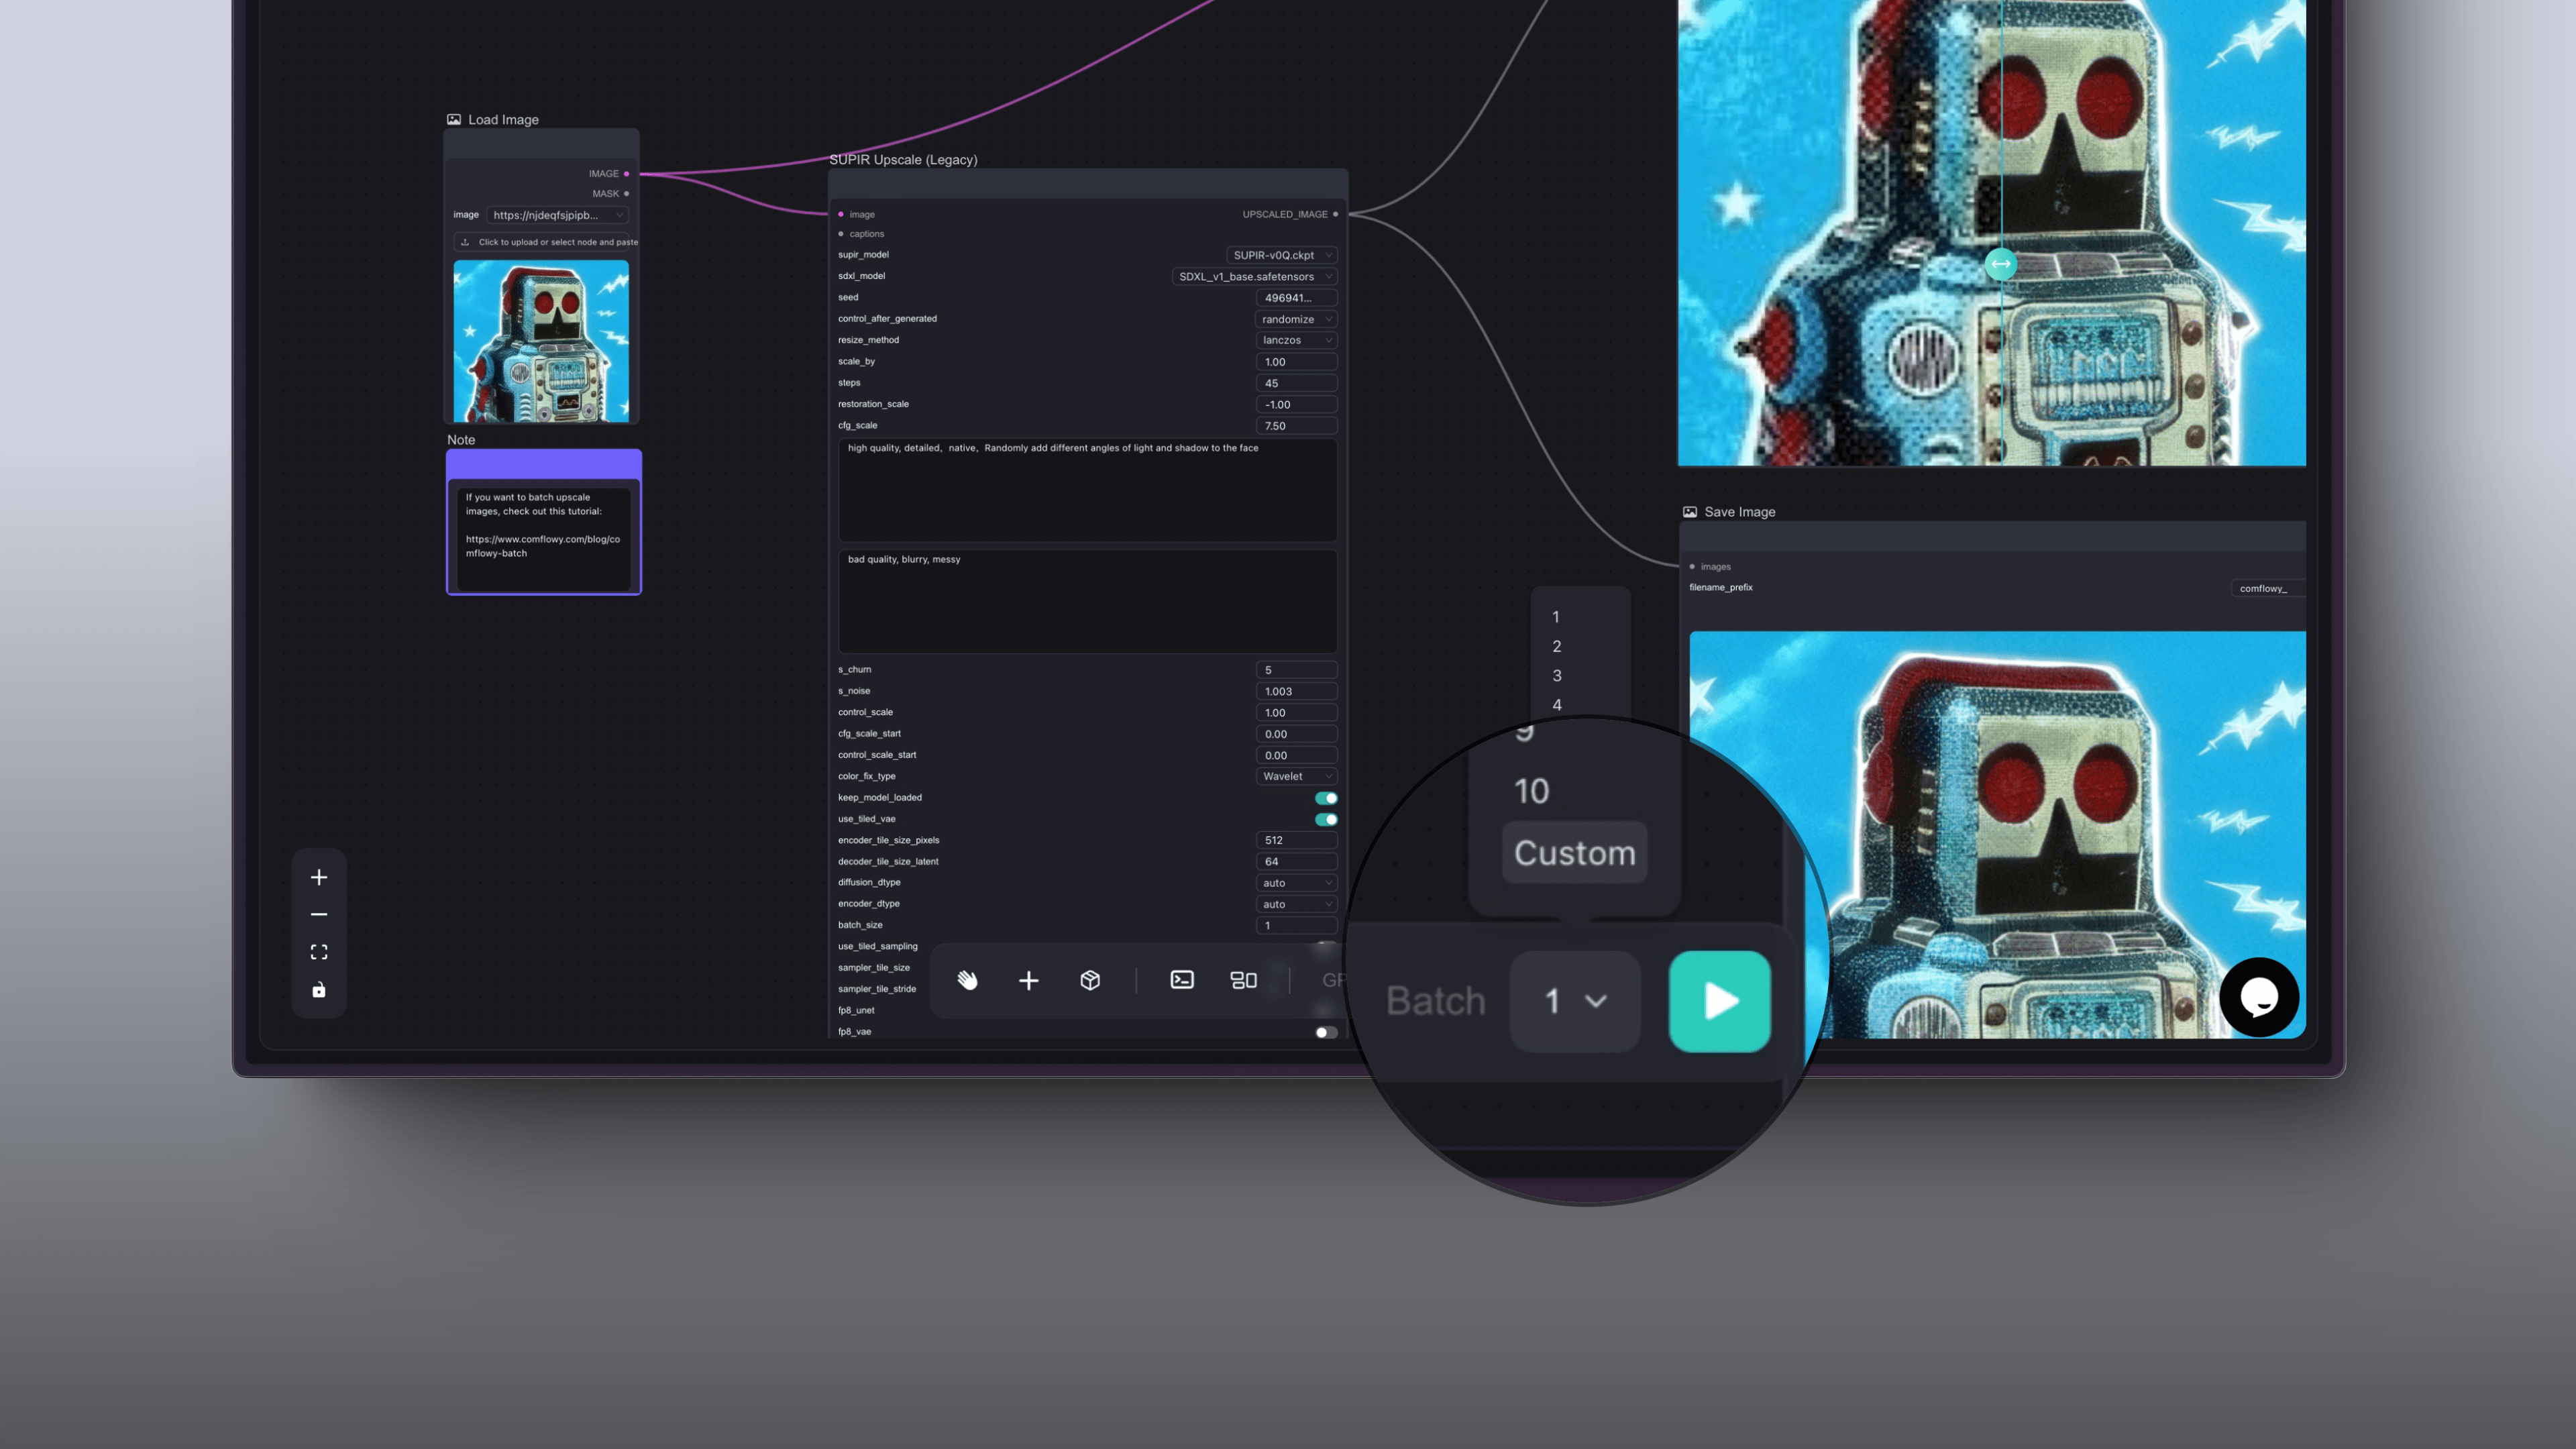
To solve this problem, we introduced the Custom Batch feature. You can select Custom Batch from the Batch dropdown button:
Afterward, you'll see a screen like this:
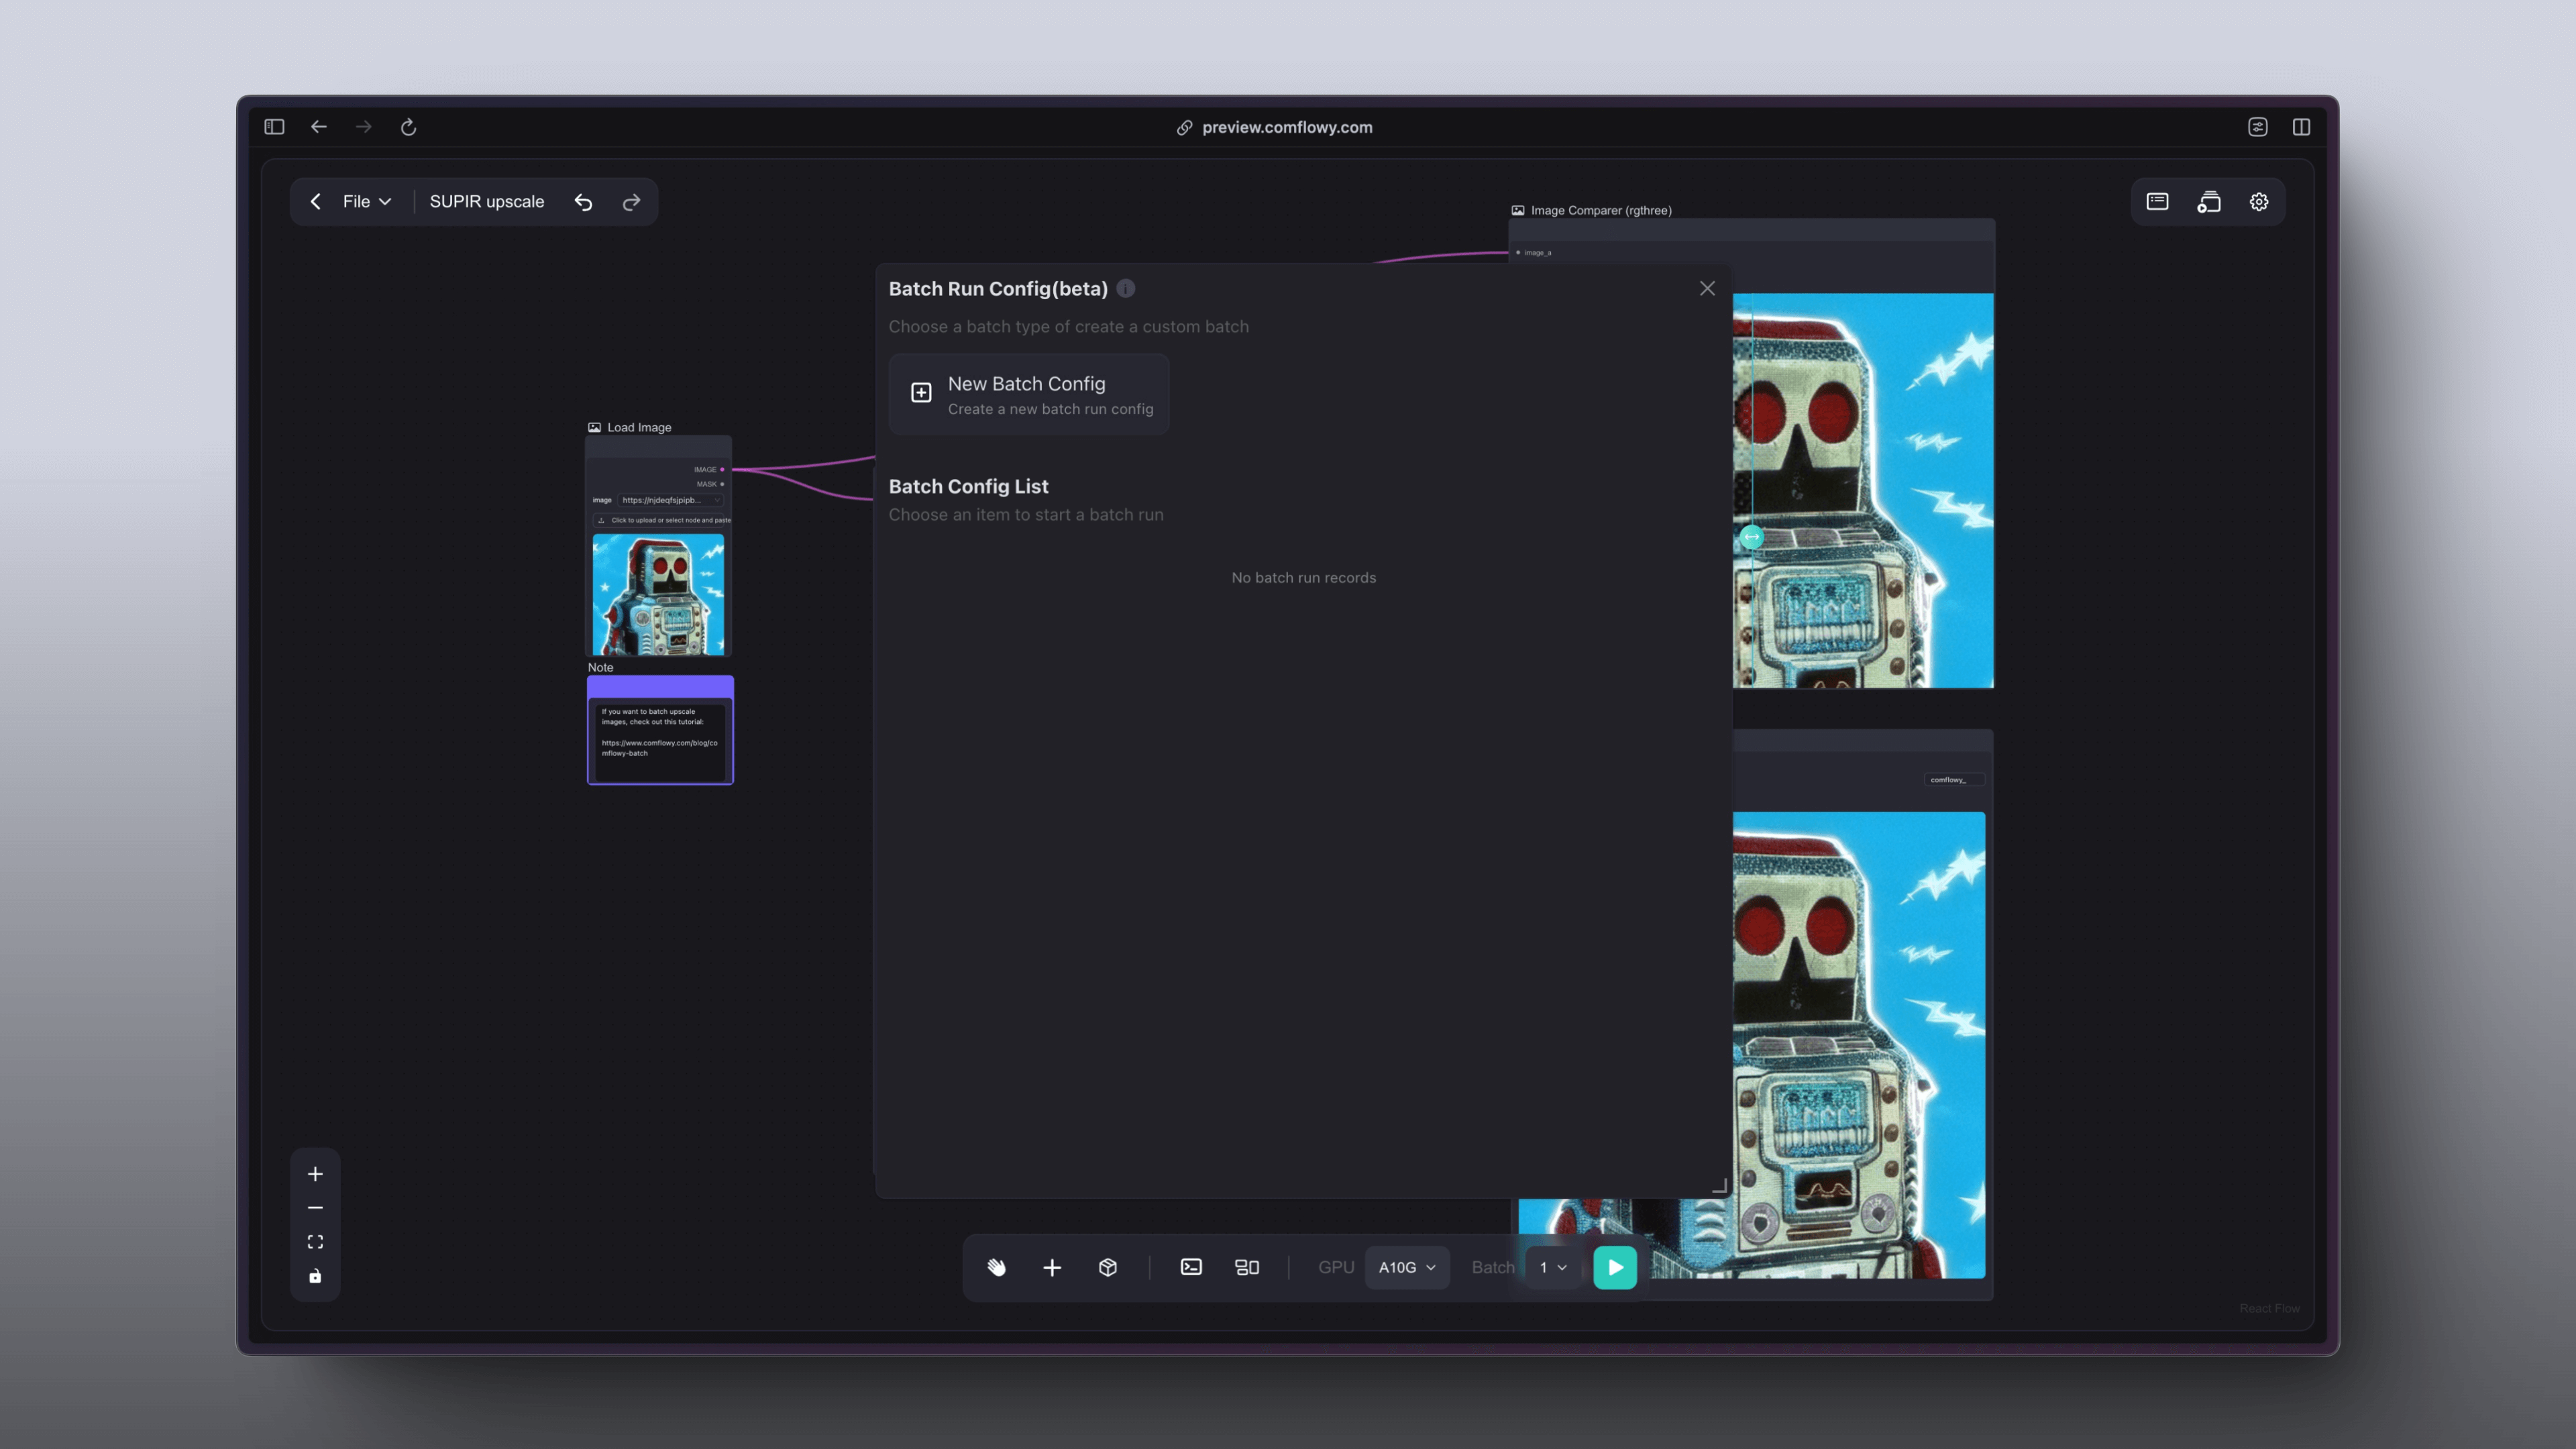
Then, click on the New Batch button to proceed to the next screen:
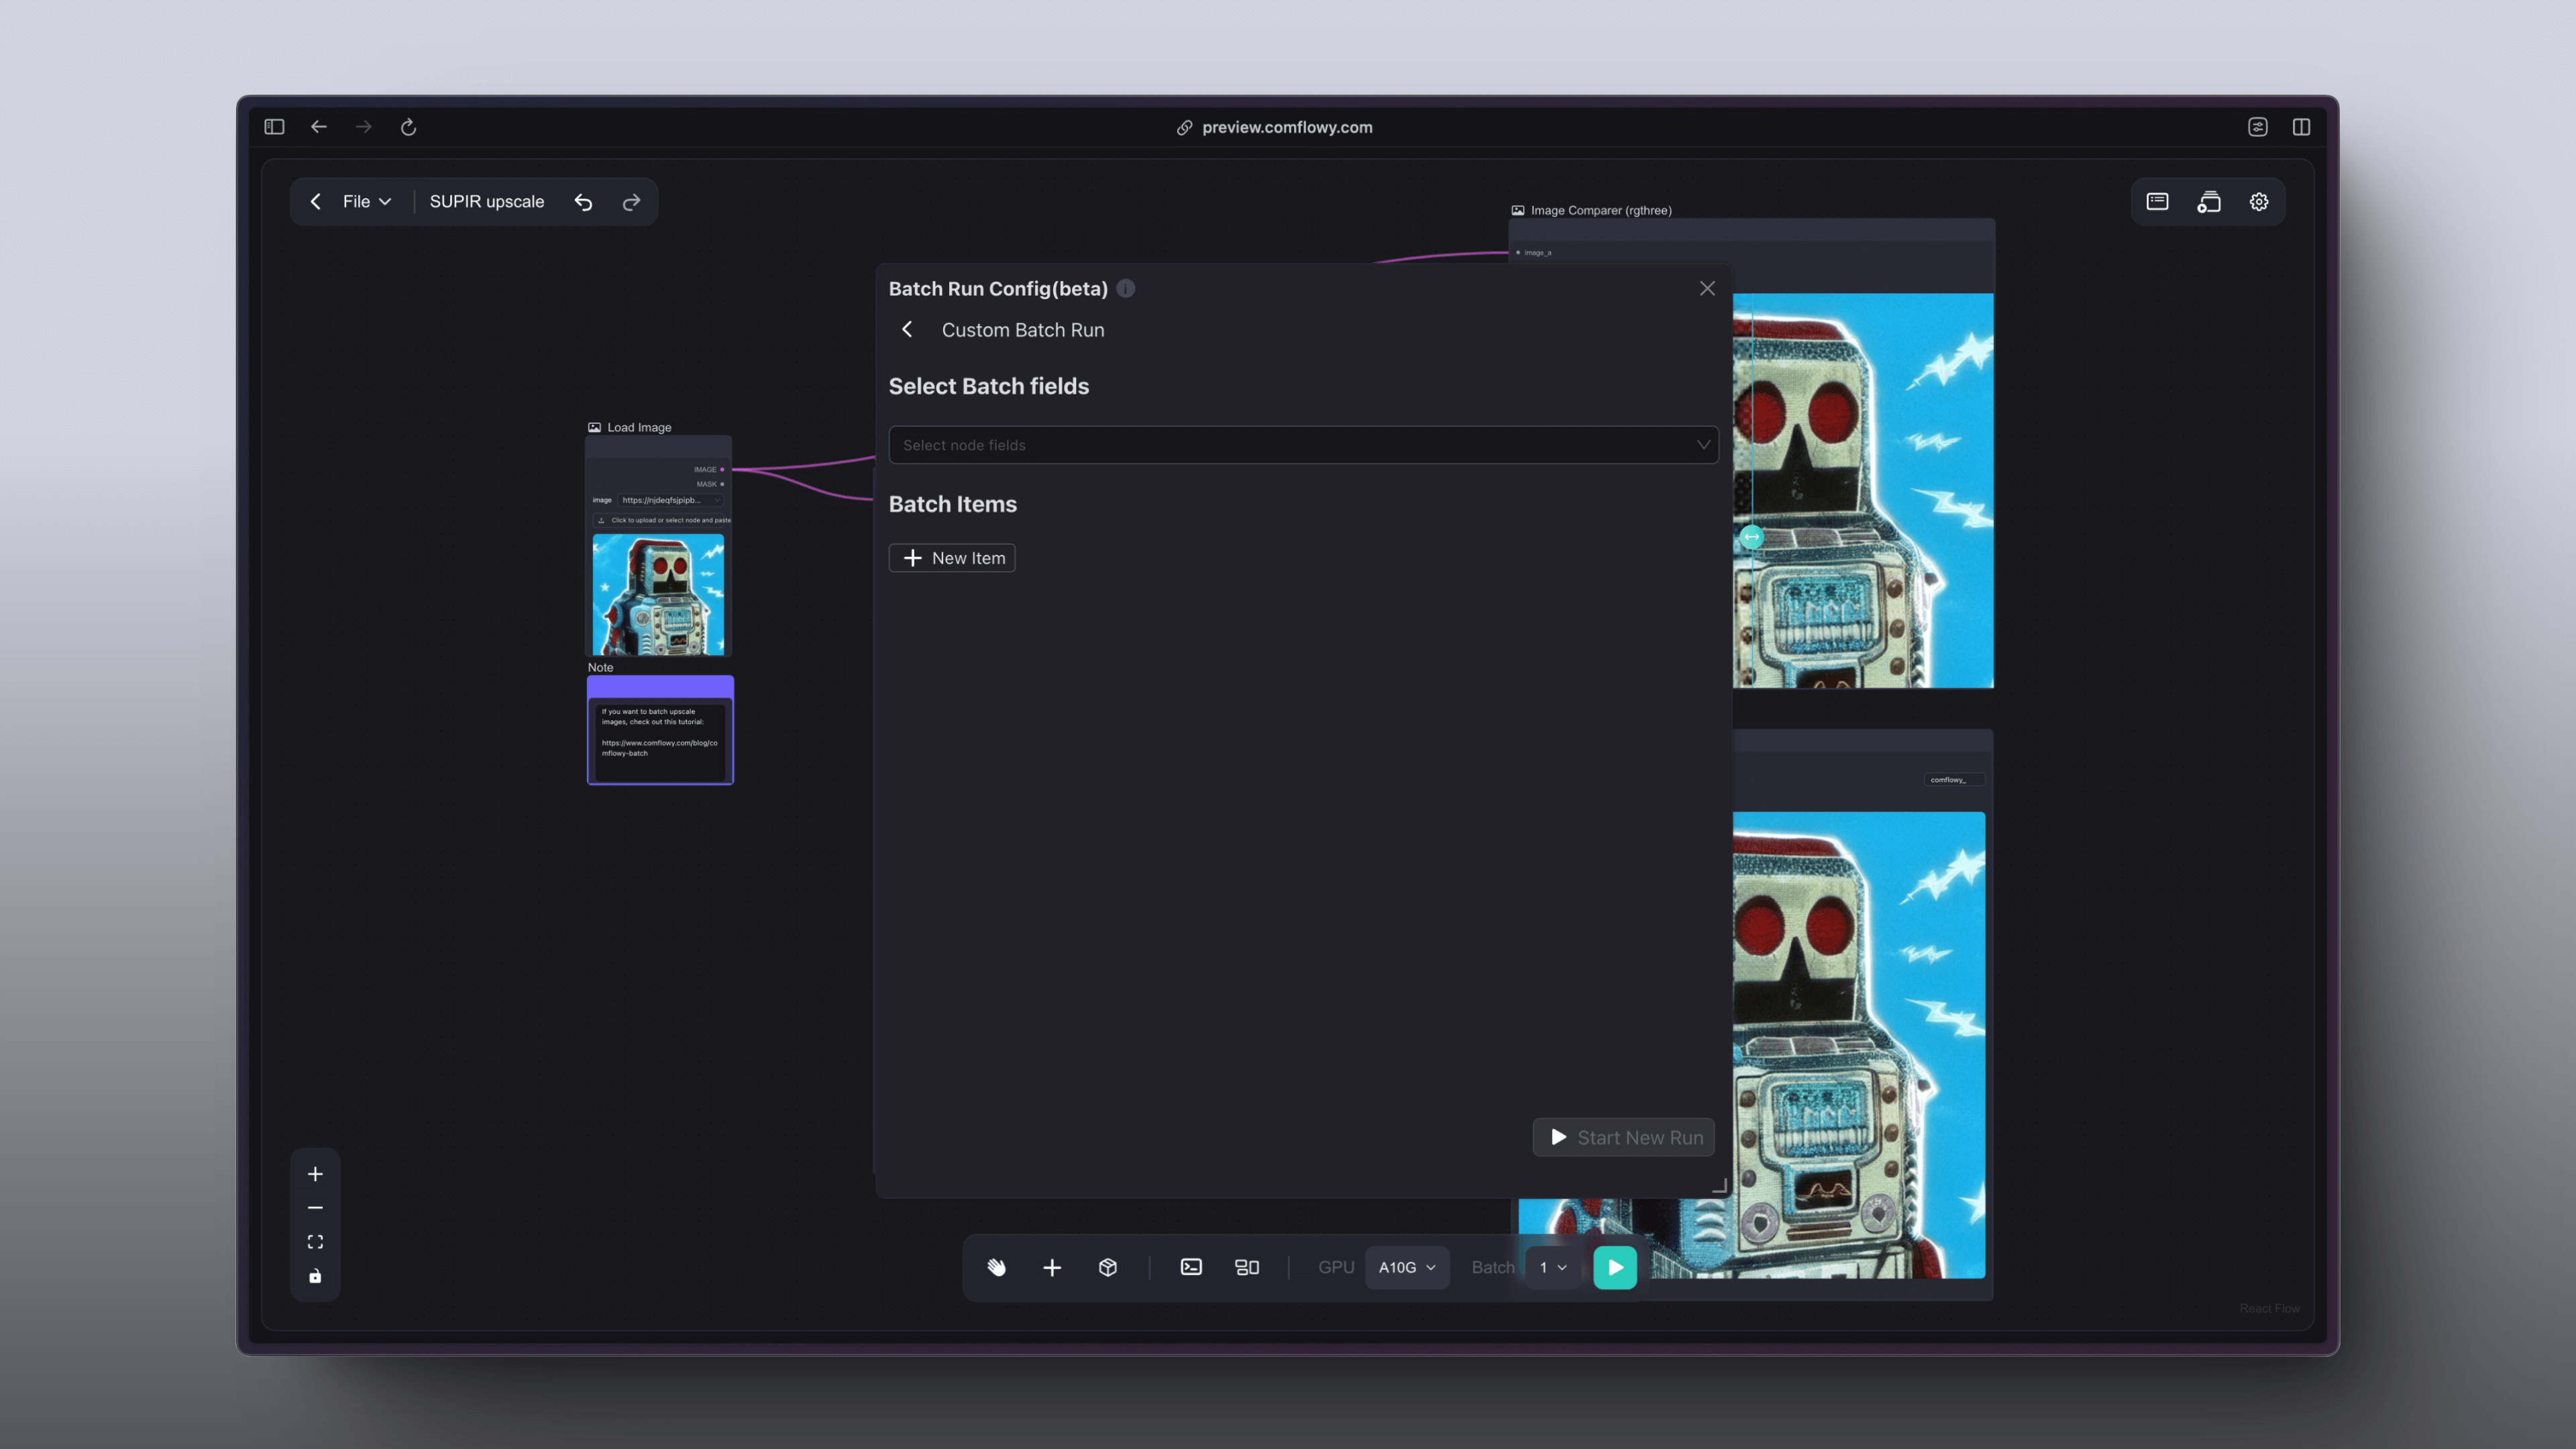
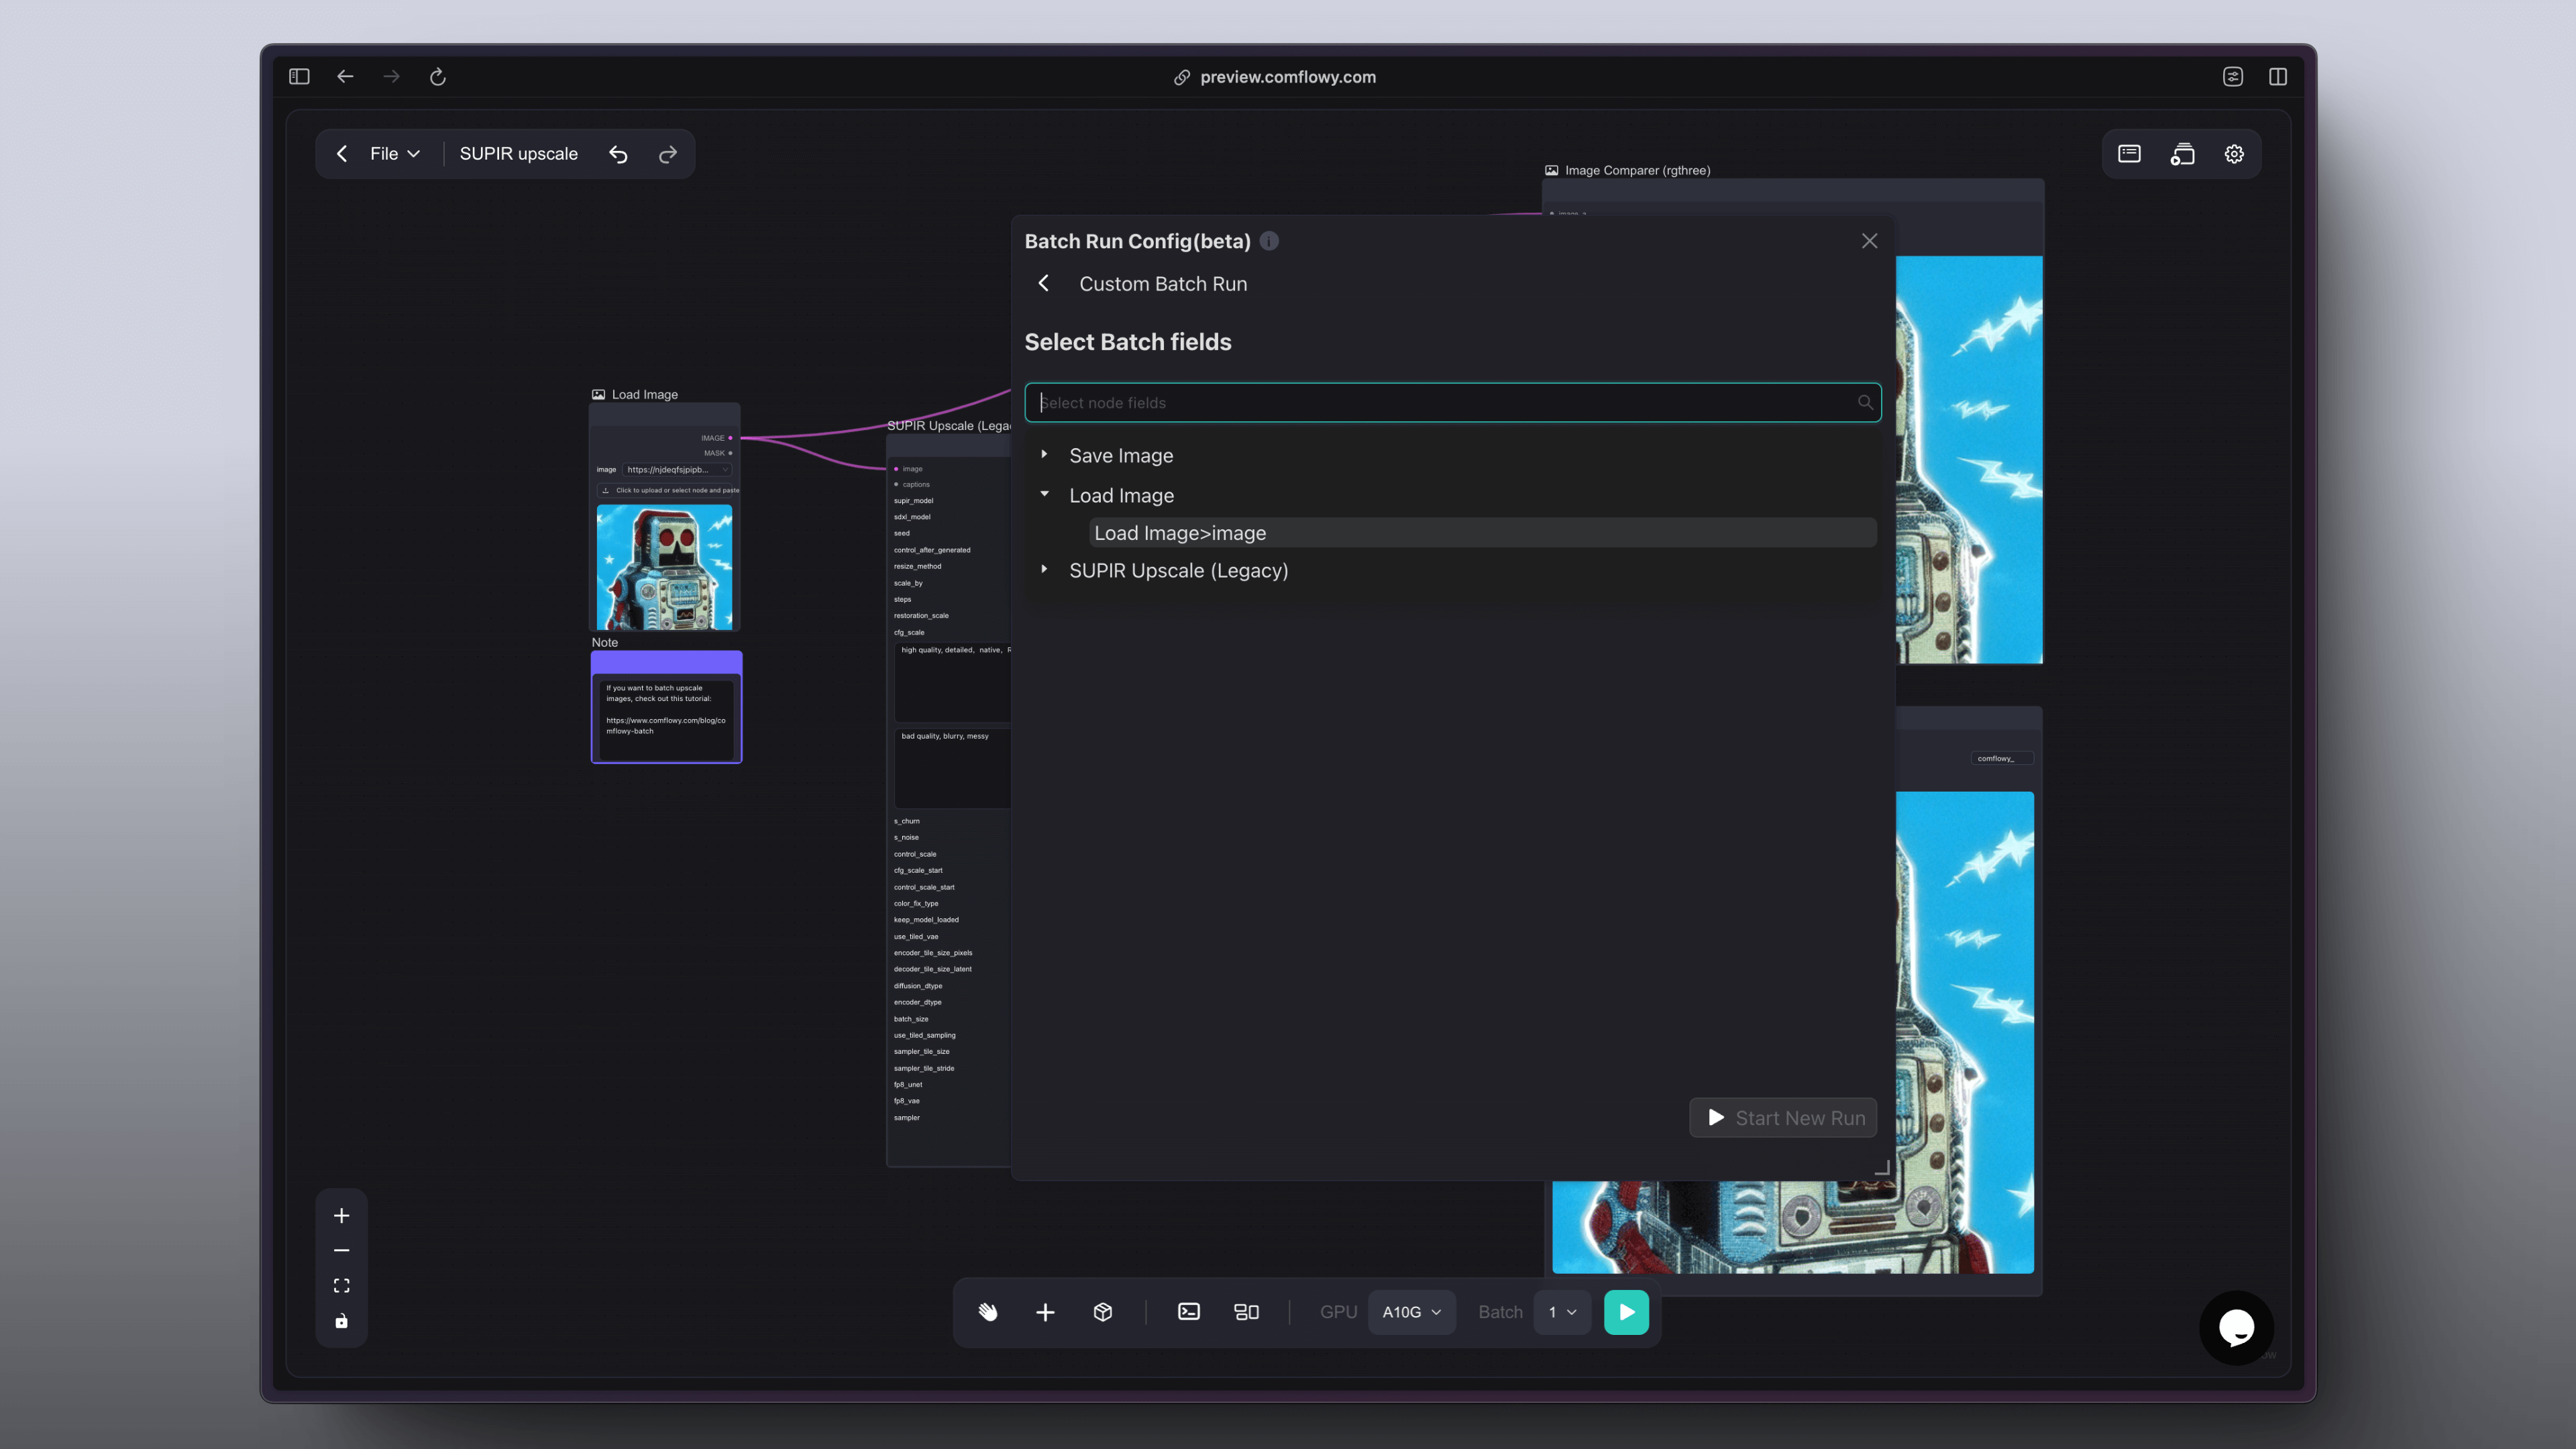
Once there, you can select the parameters you want to configure in bulk from the filter box at the top. For example, to enlarge multiple images in batches, select Load Image from the dropdown box:
After choosing Load Image, click the New Item button:
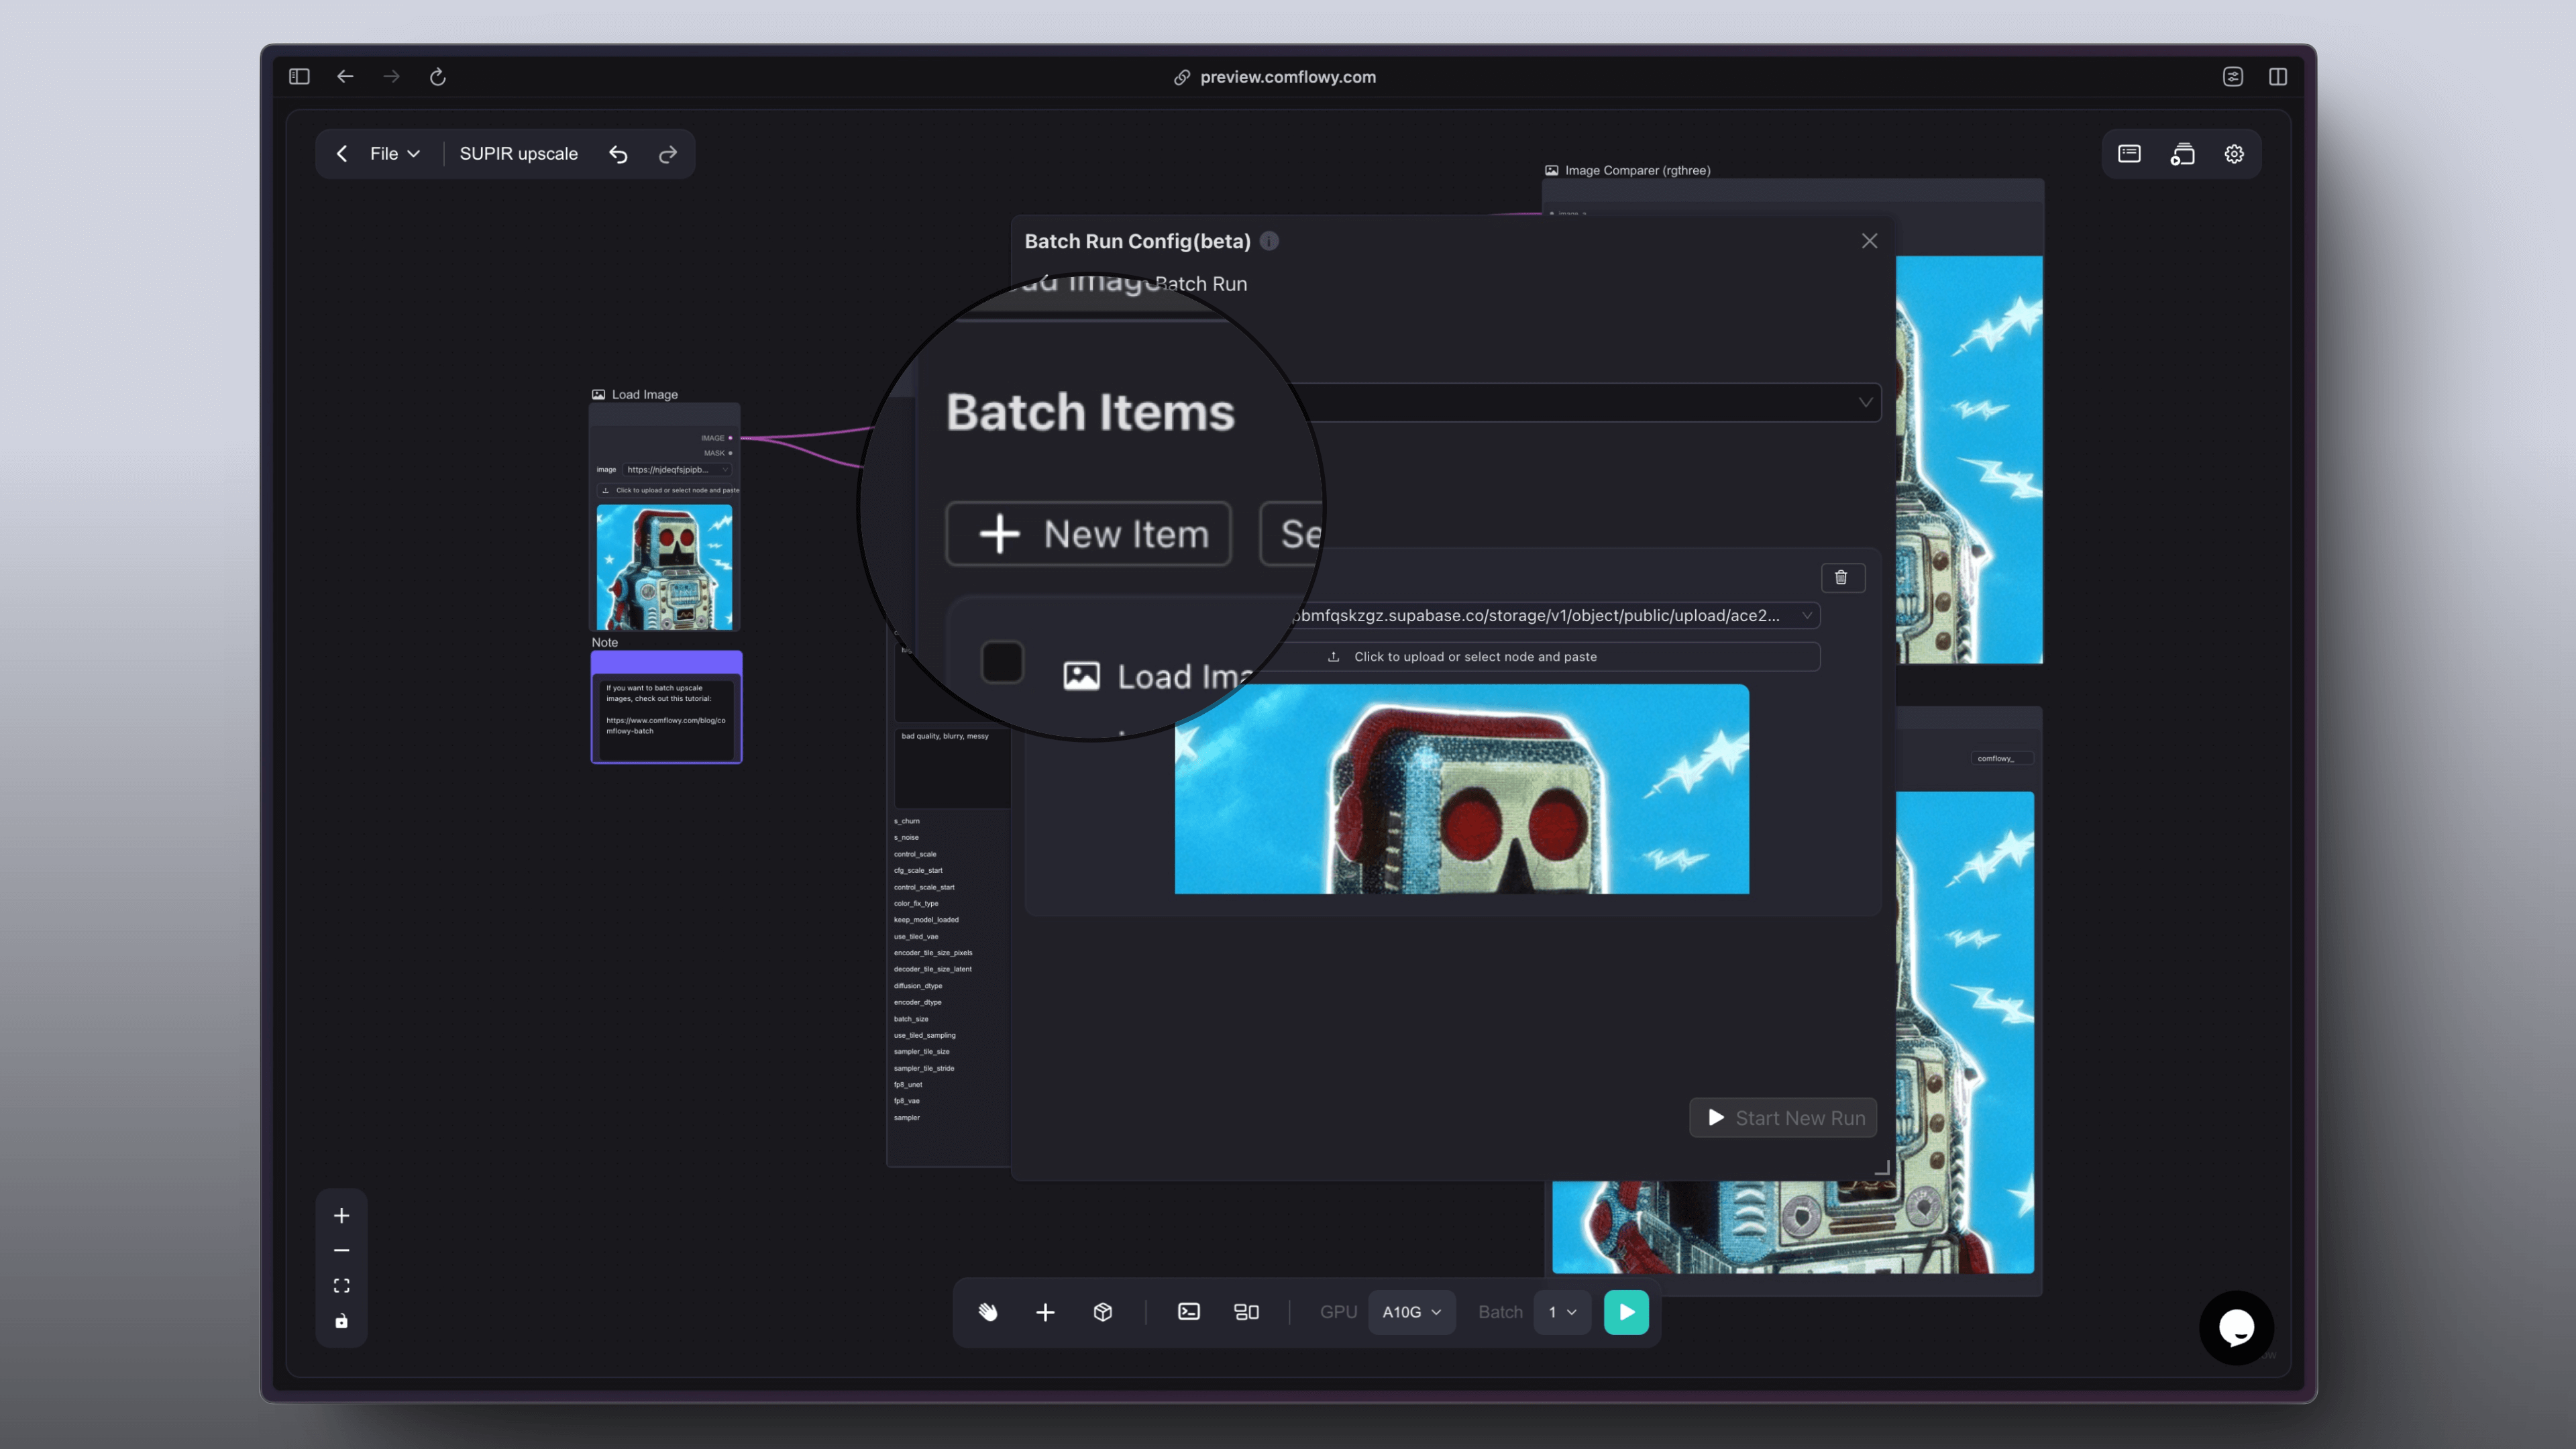
You can then upload other photos here. After adding one, click New Item again to add the second one. After uploading all your pictures, you can click the Select All button and then the Start New Run button at the bottom.
If you need to upload three or more pictures, just click New Item more times. In my case, I only uploaded two images:
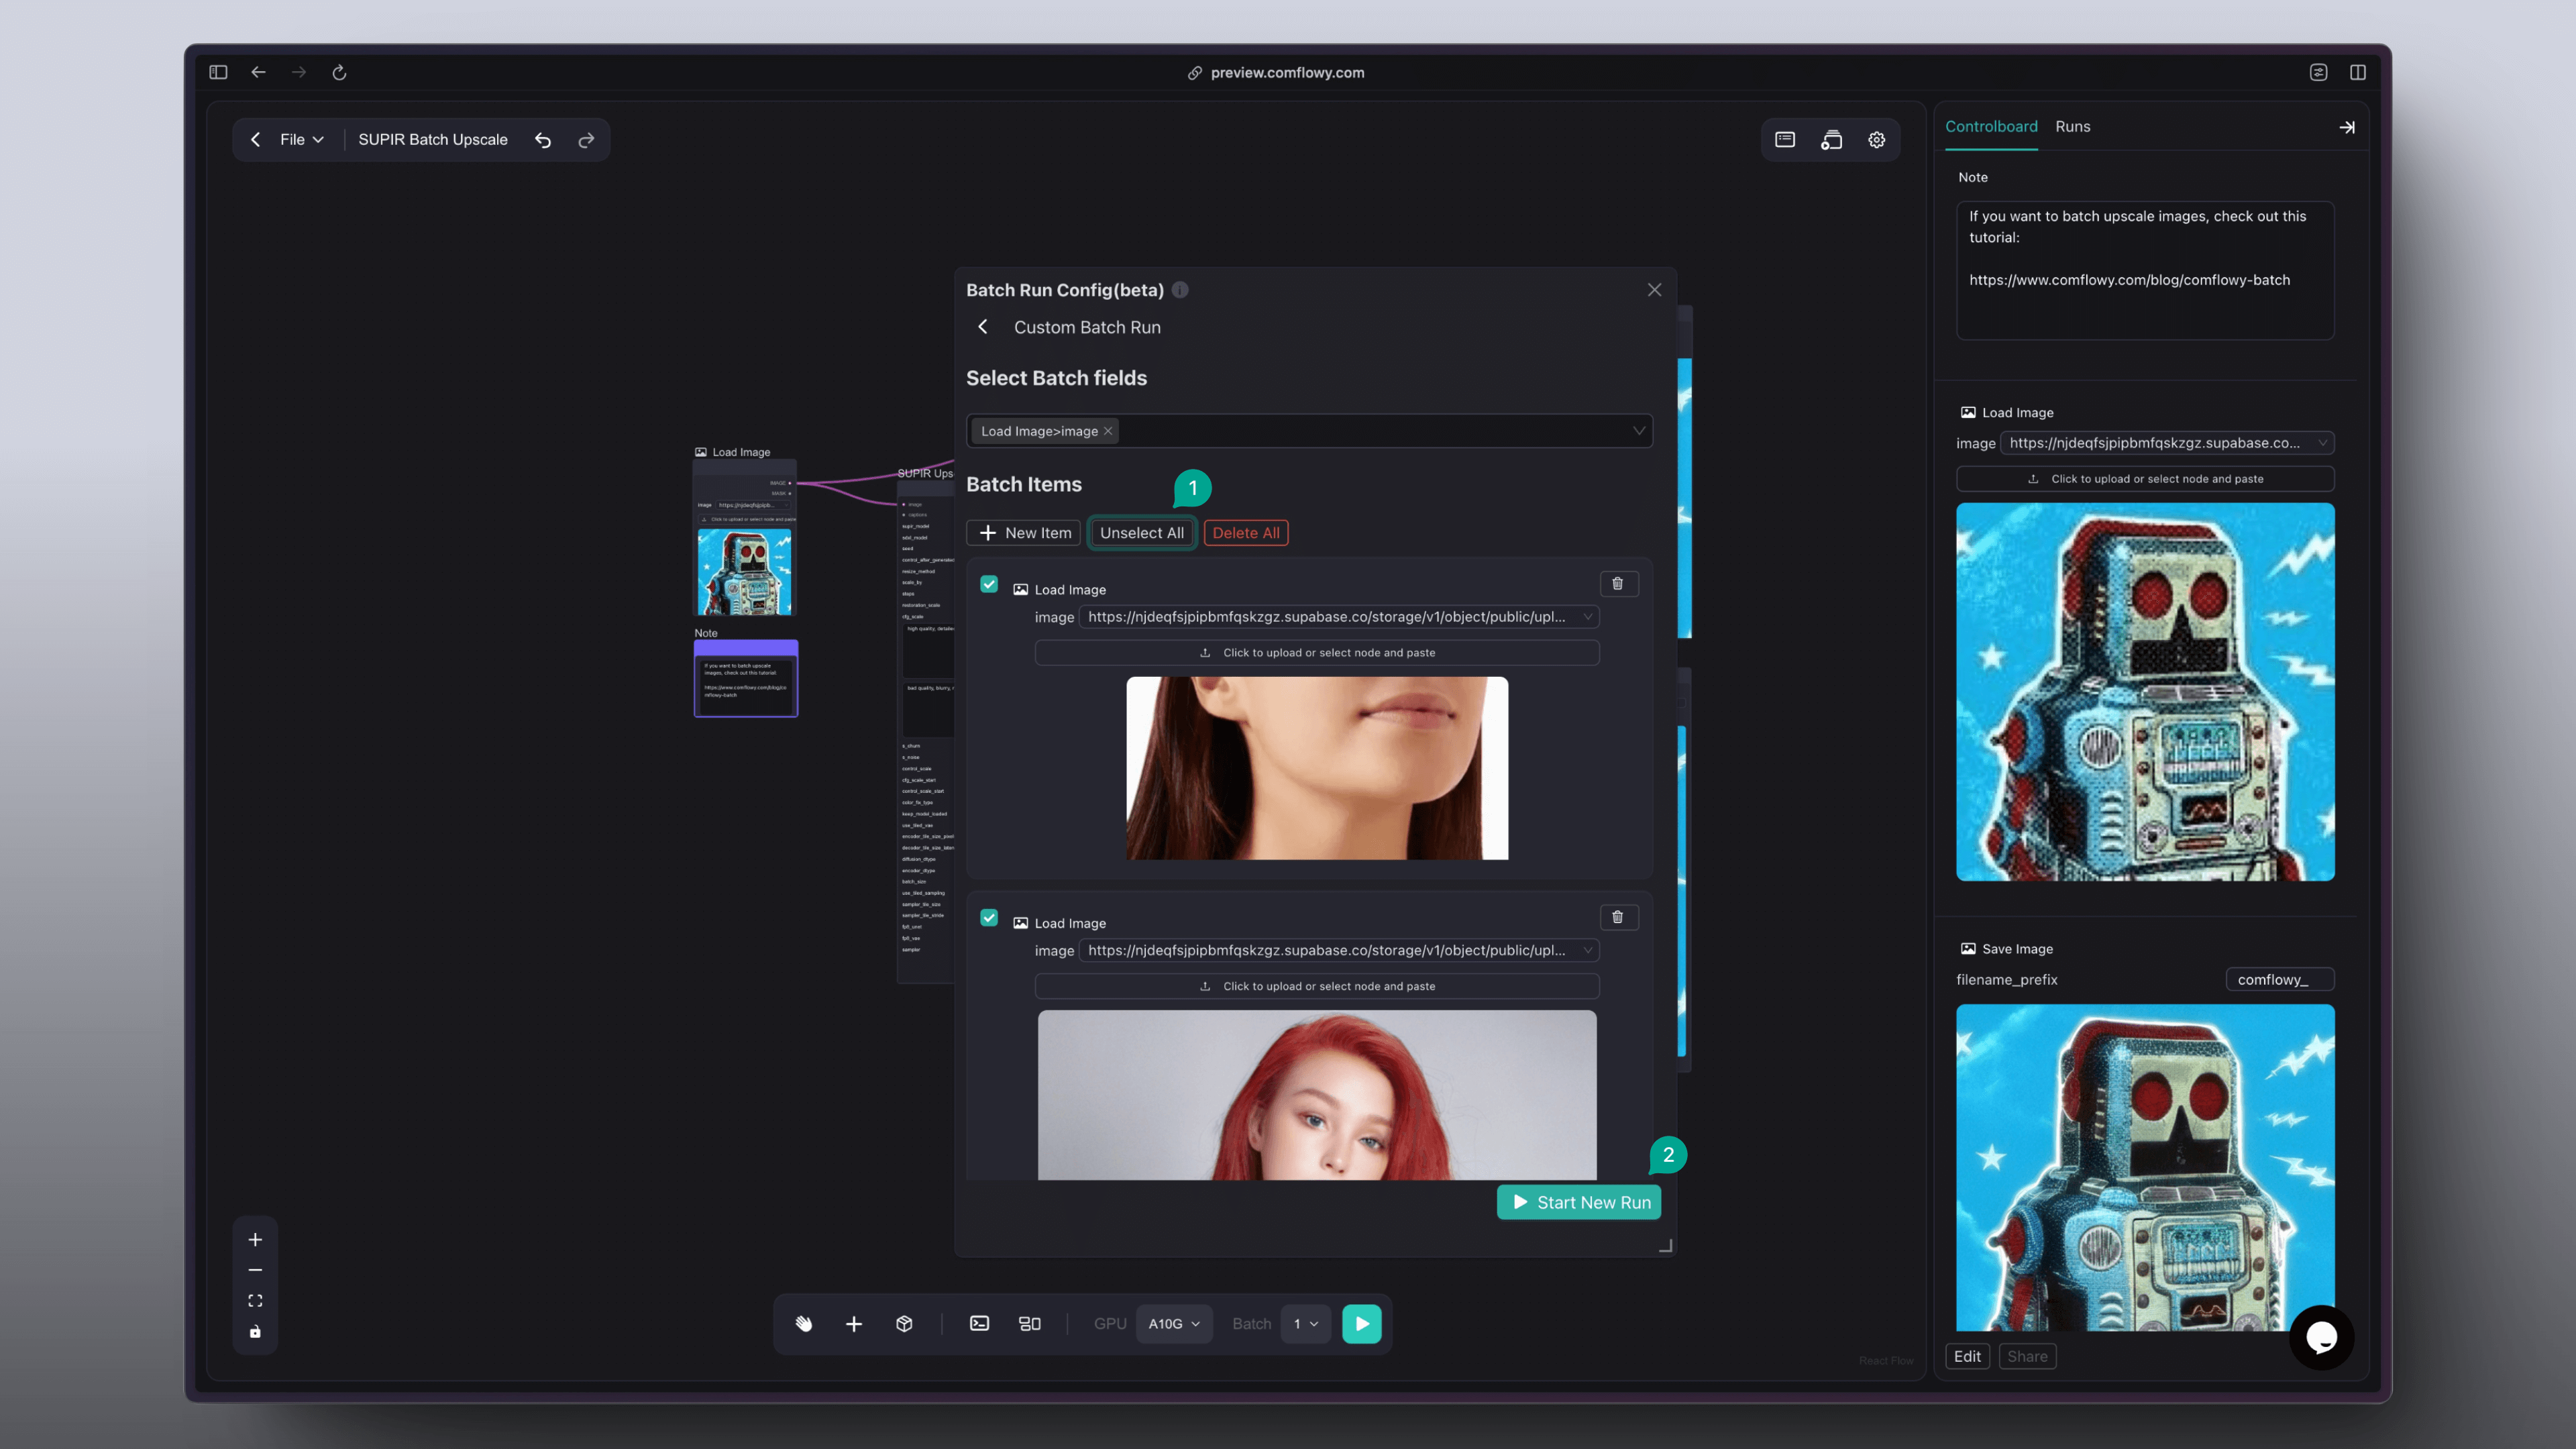
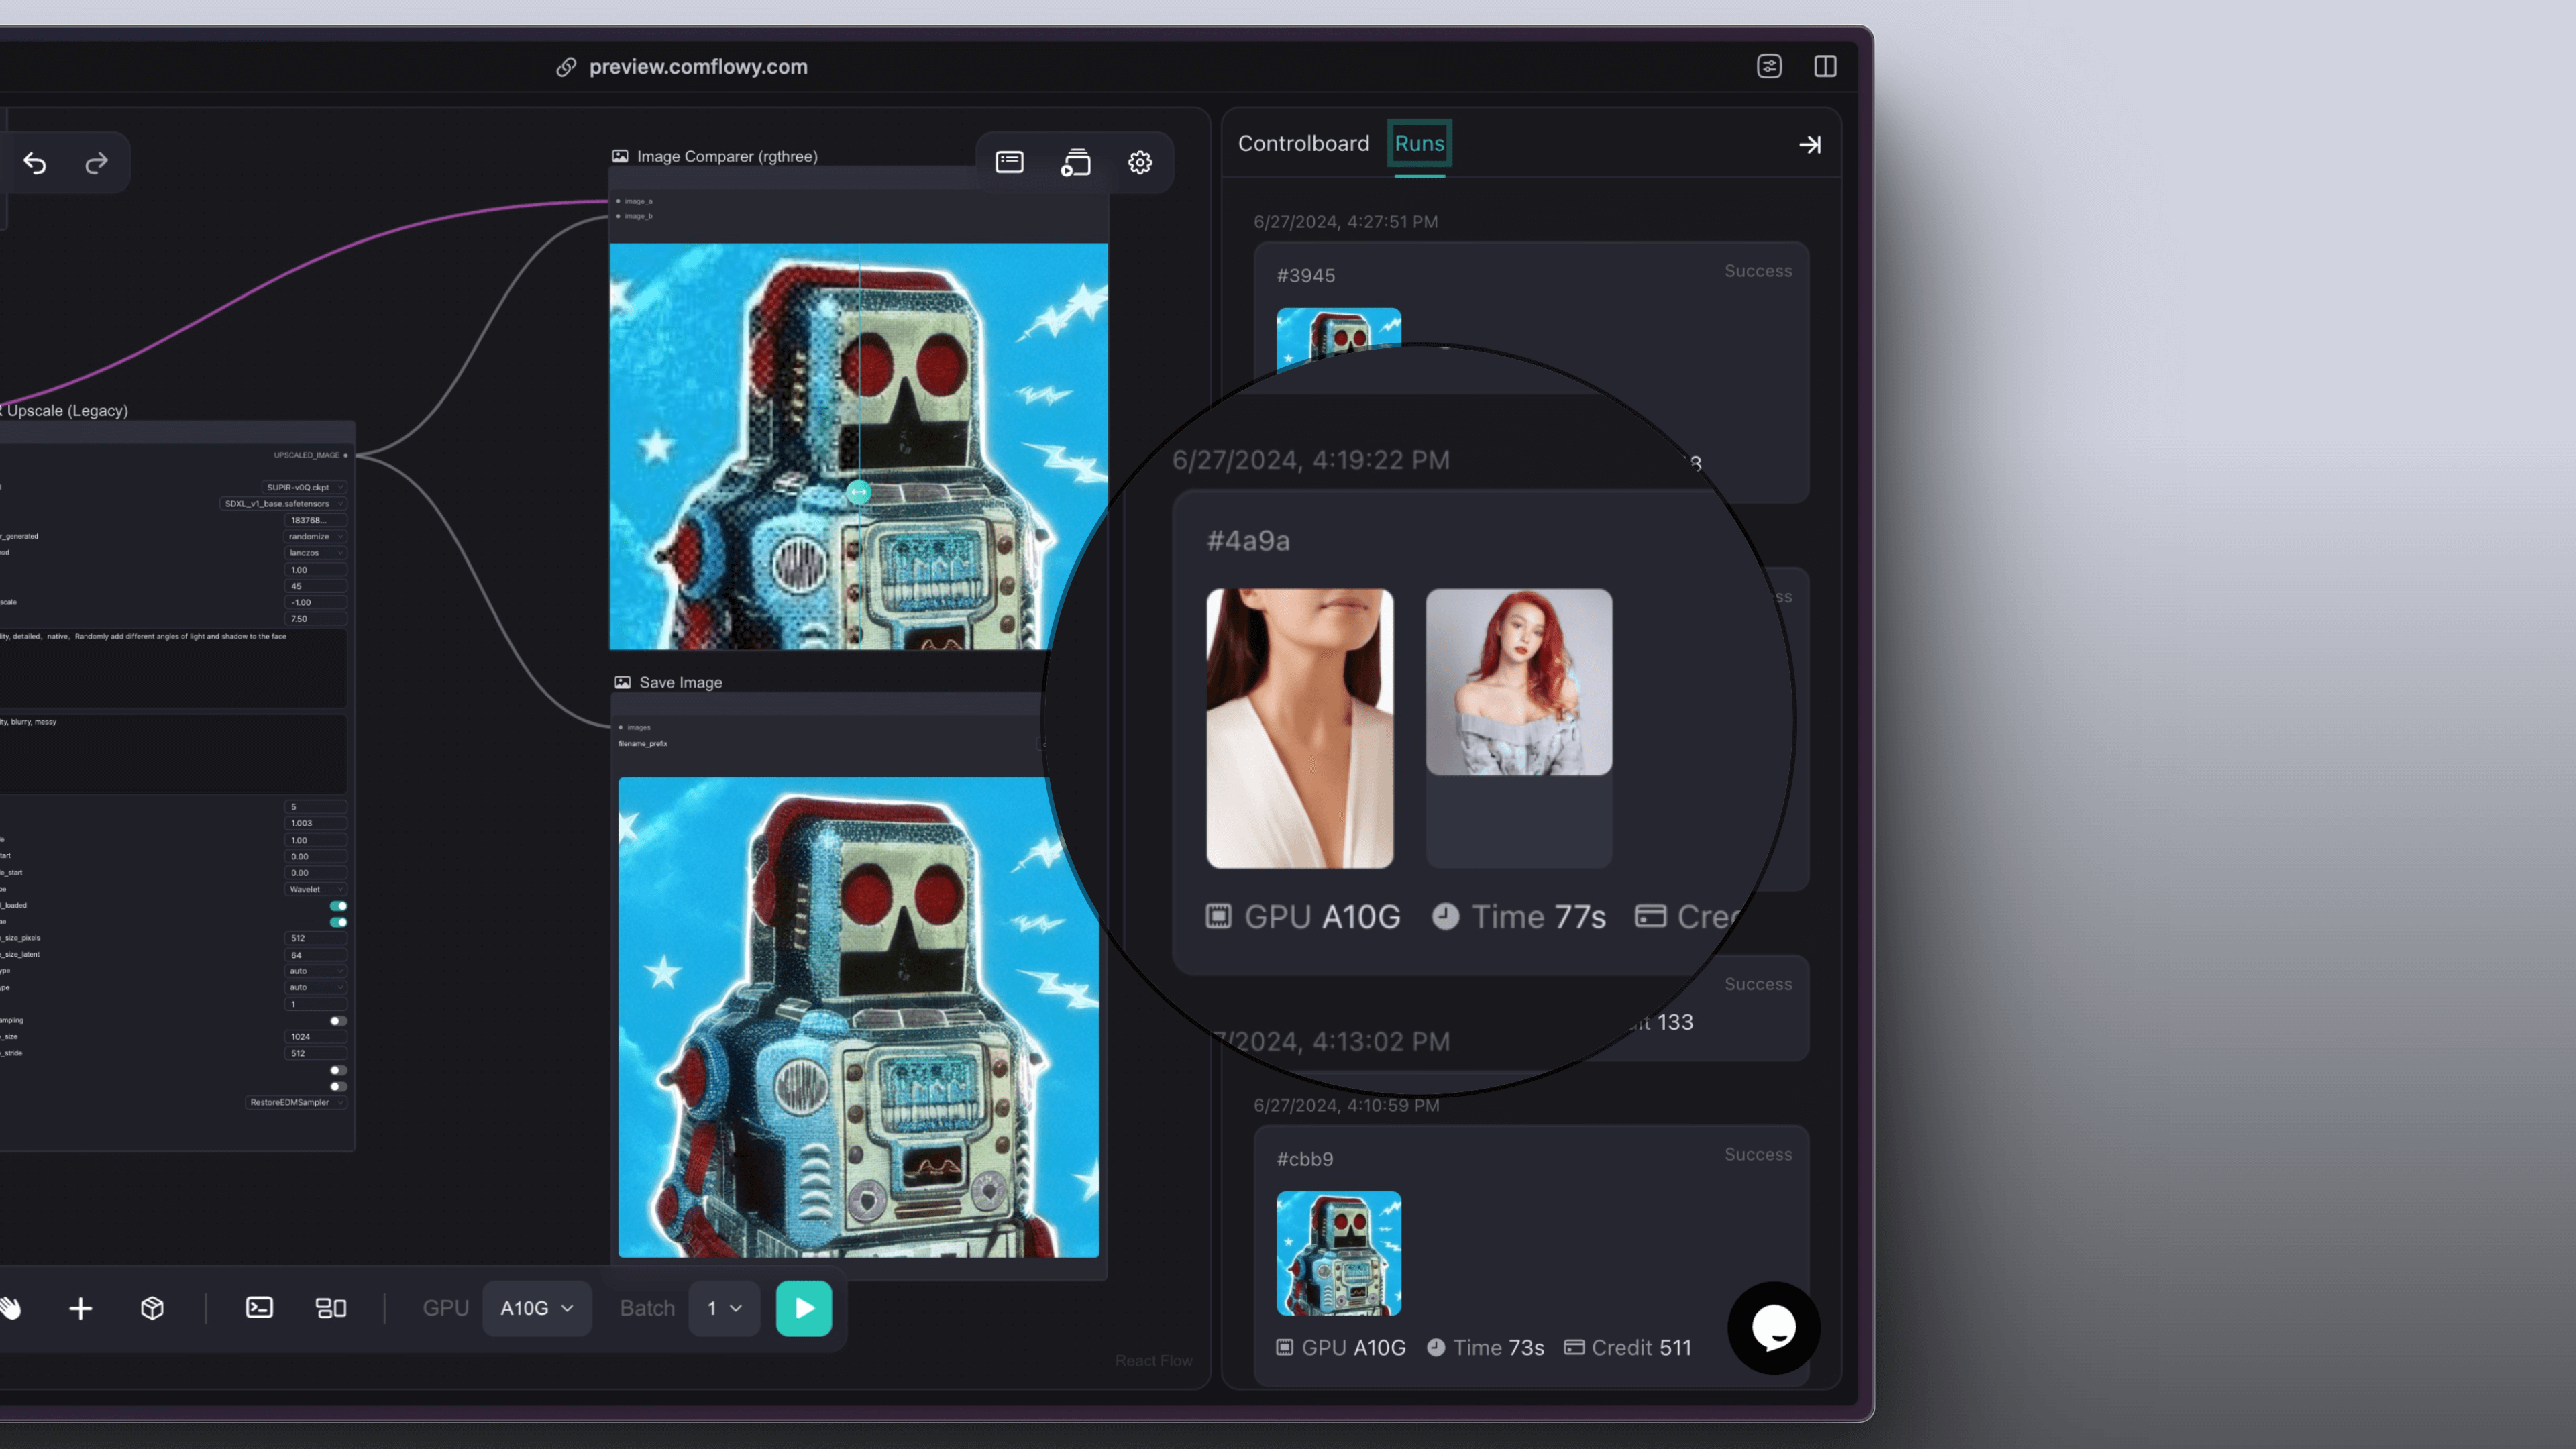
You can then see all the generated images in your Run:
Note: We currently only support generating up to 10 times consecutively using the above method, meaning you can only batch set up to 10 images at once. If you have more extensive requirements, feel free to join our Discord (opens in a new tab) and provide us with feedback.
Scenario 3: Batch Testing Parameters
Besides uploading images, you might also need to test various parameters. For instance, when testing Prompts, you may need to modify parameters and click Run each time.
Or, you might add multiple CLIP nodes and KSampler nodes in the workflow for testing. In the Comflowy cloud version, you can use our Custom Batch feature to meet this need.
Similar to the previous scenario, add a CLIP in the Batch parameters and then insert the Prompt you wish to test:
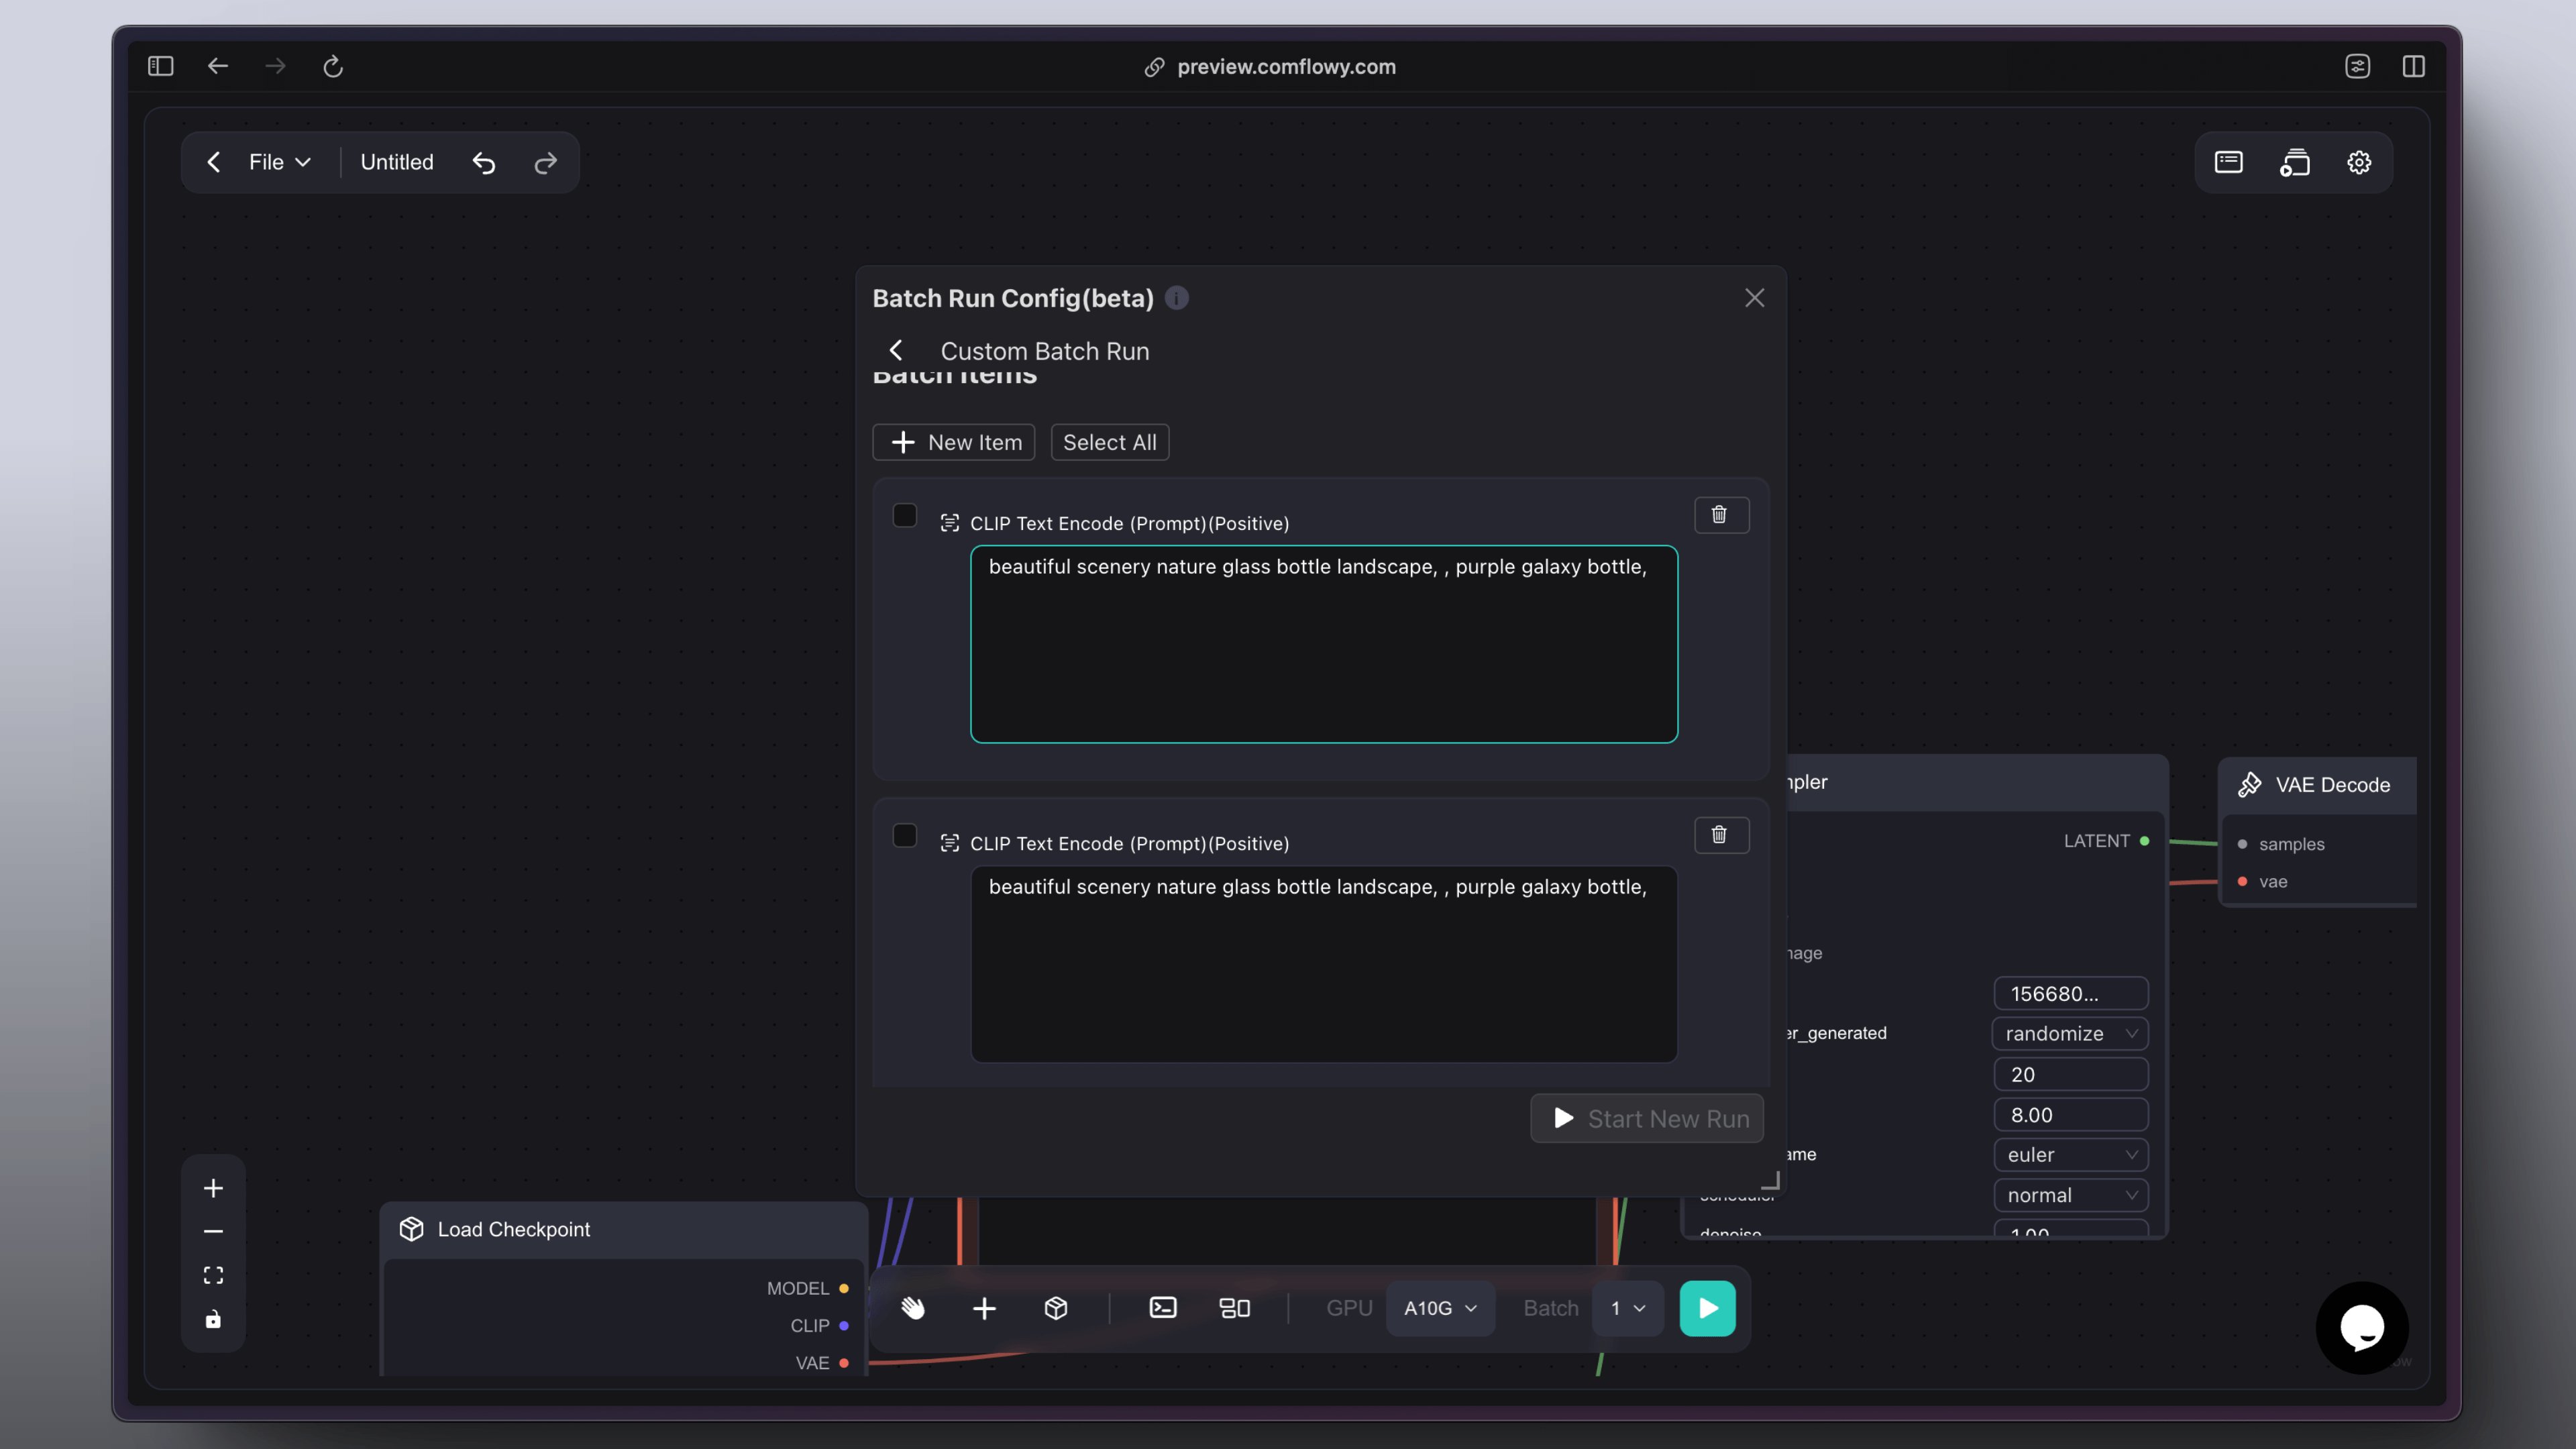
Finally, click the Start New Run button. Besides CLIP, you can also add other parameters, such as CFG, etc.